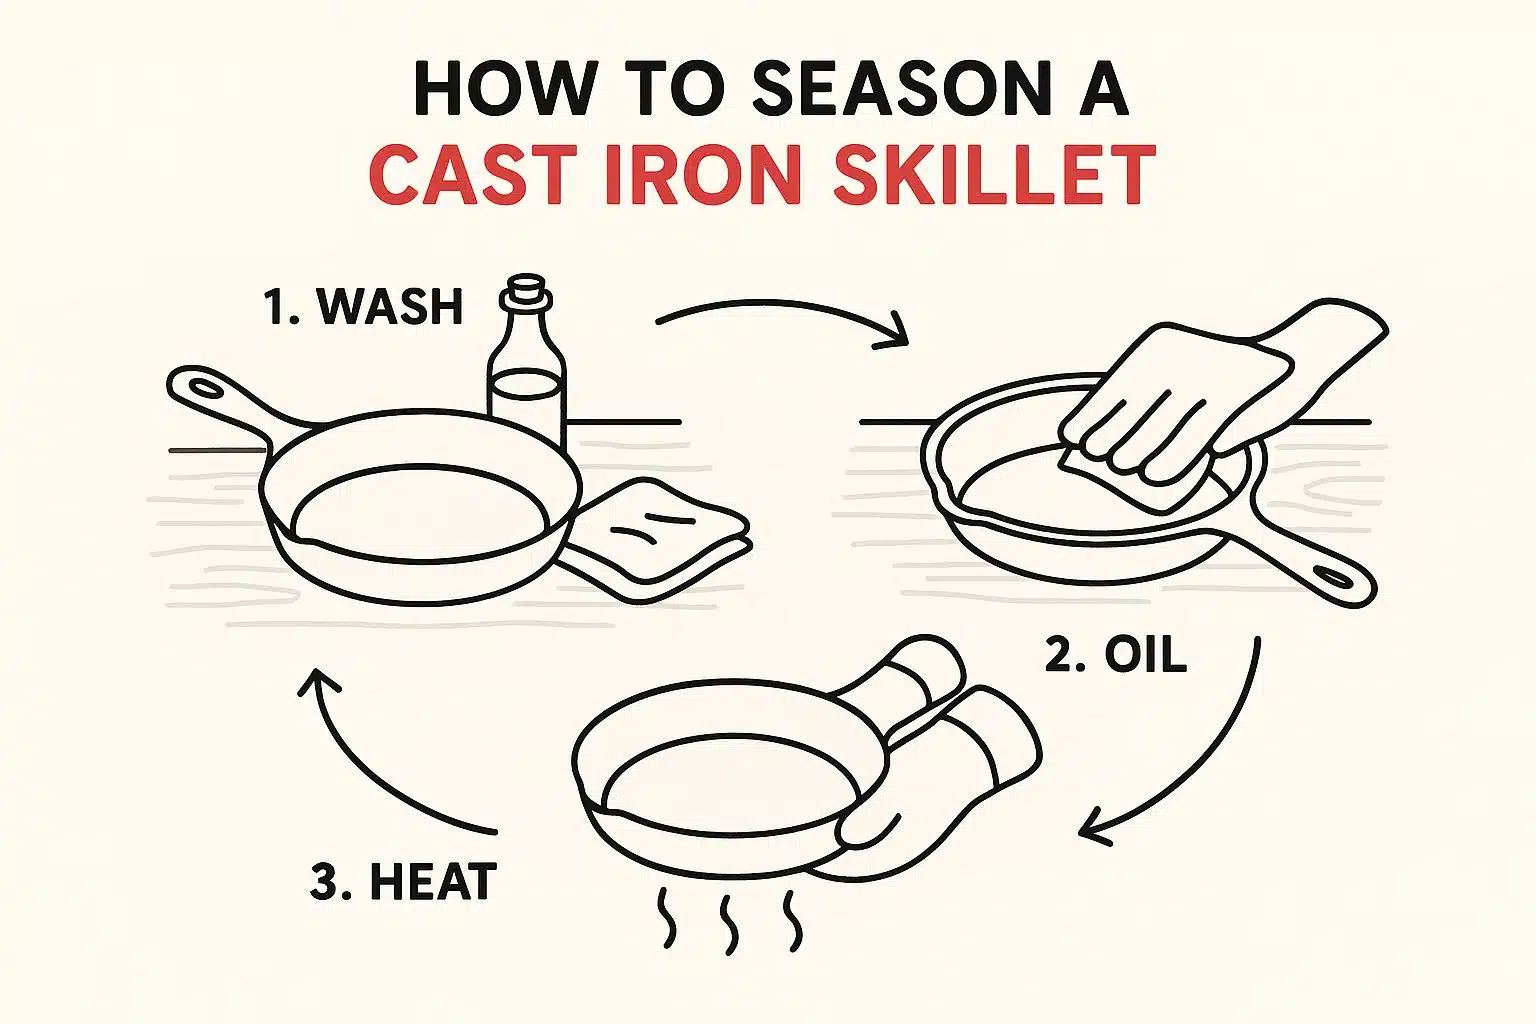
Right, let’s talk about how to season cast iron. This is the secret step that turns a good potjie or skillet into a family heirloom. Essentially, you’re baking a thin layer of oil onto the surface. This creates a natural, non-stick coating that’s also rust-proof, making sure your gear lasts for generations of braais.
Learning how to season cast iron is essential for maintaining the quality of your cookware. Proper seasoning will enhance your cooking experience.
That beautiful, smooth black finish you see on well-loved cast iron? That’s the result of this process, which is technically called polymerization. It’s the magic that makes your cast iron cookware bulletproof.
Key Takeaways
In this guide, we’ll walk you through how to season cast iron effectively and ensure your cookware lasts a lifetime.
This guide covers how to season cast iron effectively, ensuring your cookware performs at its best.
- Why Season? To create a natural non-stick surface and prevent rust. It’s essential, not optional.
- Best Oil: Use a high-smoke-point oil like sunflower or canola oil. Avoid olive oil for the initial seasoning.
- The Technique: Apply a super-thin layer of oil, then wipe it off like you made a mistake. Less is more.
- Heat is Key: Bake the oil on at a high temperature (around 230–260°C) for one hour to create a durable, polymerised layer.
- Maintenance is Everything: The real non-stick magic comes from regular use and a quick wipe of oil after each wash.
Why Seasoning Is a Braai Essential
Understanding how to season cast iron is crucial for longevity and performance.
Before we jump into the how, it’s crucial to understand the why. This isn’t just some fussy cleaning ritual; it’s the foundation of great cooking over the coals. Think of it less like a chore and more like the first step in creating cookware that’ll probably outlive you.
Properly seasoning your cast iron does two vital things for your potjie or skillet:
- It Builds a Natural Non-Stick Surface: When you bake the oil on, it forms a hard, slick coating. This is exactly what lets you fry an egg without it welding itself to the pan, or ensures your potjiekos (a traditional slow-cooked stew) simmers away gently without catching and burning at the bottom.
- It Prevents Rust: At the end of the day, cast iron is just that—iron. If you leave it unprotected, especially in our humid coastal areas, it’s going to rust. A solid layer of seasoning acts as a protective shield against moisture. I learned this the hard way with my first potjie and a truly disastrous, rusty stew.
Taking care of your cast iron is part of a bigger picture; understanding essential cooking equipment maintenance helps you get the best performance and longest life out of all your kitchen tools.
For those still unsure, knowing how to season cast iron can make a significant difference in cooking outcomes. With this guide on how to season cast iron, you’ll gain confidence in your cooking skills and not only protect your cookware but also enhance its performance.
Whether you’re starting with a brand-new skillet or one of the heavy-duty potjies that come with our freestanding and built-in braais, getting the seasoning right is your ticket to flavourful, fuss-free cooking every single time.
The Initial Seasoning Process for New Cast Iron
Got a new potjie or pan? Lekker! This is where you turn that dull grey iron into a proper cooking machine.
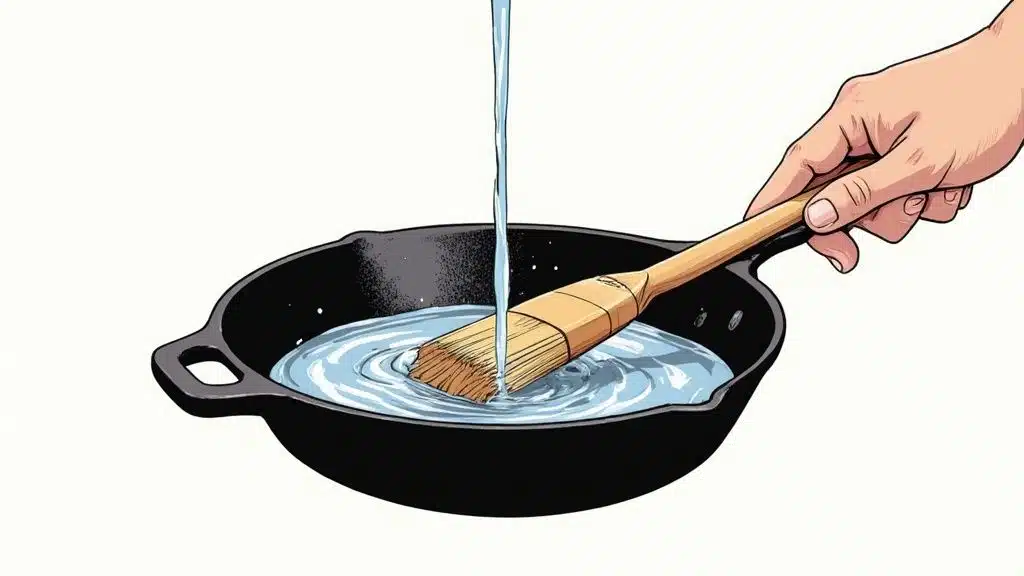
The very first step is often missed, but it’s vital. You need to give your new cookware a good scrub with warm, soapy water and a stiff brush. This crucial wash gets rid of any factory wax or residue left over from the casting process.
Next up: drying it completely. Don’t just wipe it with a towel and call it a day. I always pop mine on the stove or over some warm coals for a few minutes until it’s bone dry. Any lingering moisture is a guaranteed invitation for rust, and you want to stop that before it even starts.
Applying the Perfect Layer of Oil
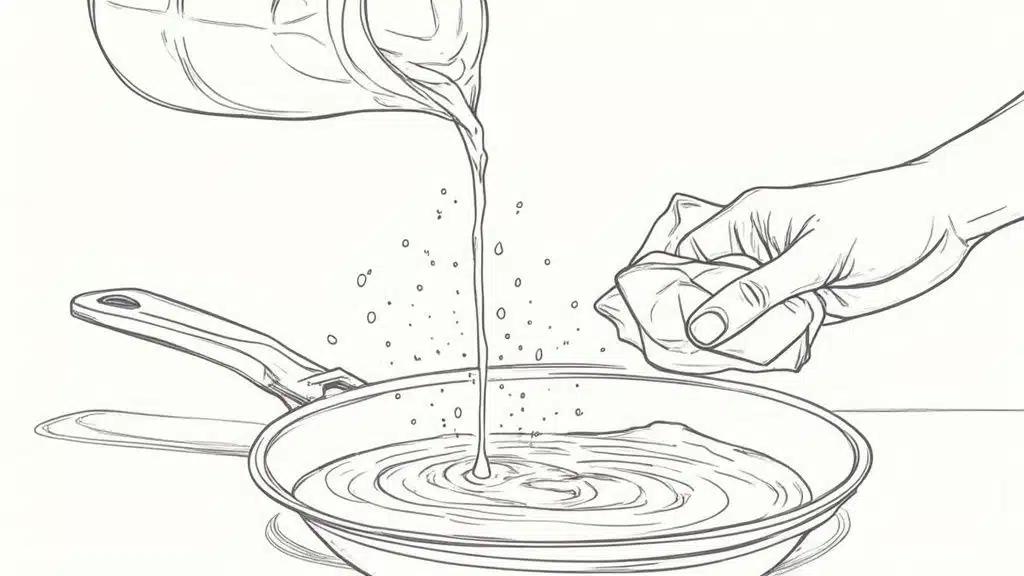
Now for the oil. The biggest mistake people make is using way too much, which leads to a sticky, uneven mess. The trick is to apply an incredibly thin, almost invisible layer.
- Choose a high-smoke-point oil like sunflower or canola oil.
- Dab a small amount onto a paper towel or a clean cloth.
- Rub it all over the pan—inside, outside, and the handle.
Then, with a fresh, clean cloth, wipe it all off as if you made a mistake. It will look like you’ve removed it all, but a microscopic layer remains. That’s exactly what you want.
As you progress, you’ll become adept at how to season cast iron, enhancing your culinary skills.
Understanding how to season cast iron opens up a world of cooking possibilities.
As you can see, you don’t need any fancy equipment—just basic kitchen items to get a professional result.
Baking It On to Create the Seasoning
With the oil applied, it’s time to bake it on. Place your cookware upside down in your oven (or a kettle braai set for indirect heat) preheated to around 230–260°C. Baking it upside down is a clever trick that prevents any excess oil from pooling at the bottom.
Leave it to bake for one solid hour. After the hour is up, turn off the heat and let the pan cool down completely inside the oven. Don’t be tempted to open the door! This slow cooling process is key to creating that tough, polymerised coating we’re after.
For specific guidance on grill components, you might also find our expert guide on how to season cast iron grates useful.
Your cast iron will come out with a slightly darker, satin finish—the first layer of your legacy.
Building a Perfect Patina Through Regular Use
That first seasoning session is just the foundation. The real magic, that deep, black, non-stick surface we call a patina, is built layer by layer, every single time you cook.
Think of it like this: your initial seasoning gets the pan ready for the game, but regular use is how you win the league. Every braai, every fry-up, every meal adds another micro-layer to that bulletproof surface. This ongoing process is what creates a true family heirloom.
My Post-Braai Cleaning Ritual
Forget everything you’ve heard about cast iron being difficult to clean. My post-braai routine is quick, simple, and protects the seasoning I’ve worked so hard to build.
At Braai Culture, we believe the right tools make all the difference. Explore our collection of premium cast iron cookware and accessories designed to last a lifetime. Shop our full range today and elevate your braai game with expert knowledge on how to season cast iron.
Pro Tip: For seriously stubborn food, like caramelised bits from a sweet marinade, I throw a handful of coarse salt into the pan with a splash of water. The salt acts as a gentle abrasive that lifts the gunk without stripping that precious seasoning.
The Two Most Important Steps
After a quick scrub, there are two steps that are non-negotiable for keeping your cast iron in top form.
Always Dry on a Heat Source: A tea towel will never get your pan completely dry. Cast iron is porous, and any trapped moisture is a one-way ticket to rust. I always put my cleaned pan back on the warm braai grid or a low stove burner for a few minutes until every drop of water has evaporated.
Do a Quick Maintenance Season: Once it’s bone dry, I apply a tiny amount of oil (sunflower or canola works perfectly) to a paper towel and wipe a very thin layer over the entire cooking surface. This five-second step protects the iron from humidity and keeps it ready for its next use.
This routine is especially critical here in South Africa, thanks to our varying humidity levels. Regular maintenance is key to keeping rust at bay, a fact supported by the team at Best Duty, who stress the importance of post-wash oiling to prevent rust in our climate. This daily care is the real secret to an unbeatable patina.
How to Restore a Rusty or Damaged Potjie
Found an old, neglected potjie hiding in the garage? Don’t even think about turfing it. That forgotten piece of iron is a treasure waiting to be reclaimed, and bringing it back to life is one of the most rewarding projects for any braai lover.
With a bit of elbow grease, you can tackle even the most stubborn rust. It’s the ultimate upcycling project, turning a forgotten piece into a functional family heirloom.
Stripping Away the Rust
Your first mission is to get that potjie back to its bare metal. Forget harsh chemicals; a simple soak in a solution of equal parts white vinegar and water is often enough to loosen the rust. Let it sit for a few hours, but no more than eight, as the acid can start to damage the iron itself.
After its vinegar bath, it’s time to scrub.
- Make a paste: Mix bicarbonate of soda with a little water until you have a thick paste.
- Get scrubbing: Use steel wool or a firm wire brush and really work that paste into all the rusty areas.
- Rinse and repeat: Rinse it thoroughly with hot water. You might need a second round for heavily rusted spots.
The goal is to see that smooth, grey, bare iron across the entire surface. Once you’re there, move fast to stop flash rust from forming.
My biggest lesson from restoring my grandfather’s old potjie was speed. The moment the rust is gone and the pot is rinsed, you must dry it instantly and completely on a heat source. Any moisture will undo all your hard work in a flash.
Rebuilding the Seasoning from Scratch
Once your potjie is stripped bare and bone dry, the process is exactly the same as seasoning a new pan. You’re building that protective layer from the ground up: apply an ultra-thin coat of oil and bake it on.
This restoration work doesn’t just save a piece of history; it’s a sustainable act. By properly restoring old cast iron, you minimise the need for premature replacements and the manufacturing energy that goes with it.
This process is perfect for any cast iron, including those you’d use on a dedicated Jetmaster Potjie Cooker.
From here, you’ll be well on your way to mastering how to season cast iron.
Common Cast Iron Seasoning Mistakes to Avoid
Even the pros get it wrong sometimes. Trust me. Learning how to season cast iron is as much about knowing what not to do as following the right steps. I’ve seen a few common slip-ups that can frustrate anyone starting their cast iron journey.
The biggest mistake? Using way too much oil. It’s natural to think more oil equals a better coating, but the opposite is true. A heavy layer of oil won’t polymerise properly, leaving you with a sticky, tacky mess that attracts dust.
Remember the golden rule: wipe the oil on, then wipe it all off again. Seriously. You want a micro-thin layer.
Avoiding Rust and Protecting Your Seasoning
Another frequent error is not drying your pan properly after washing. Cast iron is porous, and a tiny bit of moisture can lead to rust spots overnight. Always pop your pan back on a low heat source for a couple of minutes to make sure it’s completely bone-dry before you put it away.
A lesson I learned the hard way: don’t cook highly acidic foods like a tomato-heavy smoor (a type of relish) in a brand-new pan. You need to give your seasoning time to build up and strengthen over several cooks. A new, thin layer of seasoning is delicate and can be stripped away by acid, setting you back to square one.
Ultimately, learning how to season cast iron is an invaluable skill for any home cook.
Finally, resist the urge to soak your pan in the sink. Soaking is the fastest way to destroy your hard-earned seasoning. For those really stubborn, stuck-on bits, a bit of coarse salt, hot water, and some elbow grease is a far better approach.
Avoiding these simple pitfalls will help you build up a fantastic, non-stick patina much faster. Having the right cleaning brushes and scrapers can make all the difference. Check out our range of top-quality braai accessories that can help with your cast iron care routine.
Cast Iron Seasoning FAQs
Let’s clear the air on some of the most common questions we get about seasoning cast iron. Getting these basics right is the key to using your cookware with real confidence.
Can I use soap on my seasoned potjie?
It’s generally best to avoid soap as it can break down your seasoning. For most cleaning, hot water and a stiff brush are all you need. If you absolutely must use soap for a greasy mess, use a tiny drop and immediately follow up with a light maintenance coat of oil after drying.
Why does my seasoning look patchy?
Patchiness is common and usually happens when the initial oil layer was a bit too thick. It’s mostly a cosmetic issue and won’t affect cooking performance. The best fix is to simply keep cooking with it; the seasoning will even out over time with regular use and post-wash oiling.
What’s the best oil to use for seasoning in South Africa?
For the initial high-heat seasoning, you can’t go wrong with either sunflower or canola oil. They are affordable, widely available, and have a high smoke point, which is perfect for creating a durable polymerised layer. Avoid using olive oil as its low smoke point can create a sticky mess.
Remember, the journey of how to season cast iron begins with understanding the basics.
How often should I do a full re-seasoning?
You should rarely need to do a full, high-heat re-seasoning in the oven. This is only necessary if you have to strip the potjie back to bare metal to remove severe rust or burnt-on gunk. Your simple, daily maintenance of wiping a thin layer of oil on after cleaning is what truly builds and maintains a great seasoning.
At Braai Culture, we believe the right tools make all the difference. Explore our collection of premium cast iron cookware and accessories designed to last a lifetime. Shop our full range today and elevate your braai game.