A good pizza stone for oven use is your secret weapon for that restaurant-quality, perfectly crisp pizza crust right in your own home. It works by soaking up and blasting out intense, even heat, basically turning your oven into a makeshift brick oven. This is what zaps the moisture out of the dough and gets rid of soggy bottoms for good—something a regular old baking tray just can't pull off.
Your Secret to a Perfectly Crisp Pizza Crust
Ever wondered why the pizza from your favourite local spot has that incredible, evenly browned, crispy base? The magic isn't just in the dough or the sauce; it's the scorching hot surface it's cooked on. A pizza stone is the key to unlocking that same quality in your kitchen or even on your kettle braai.
Think about it this way: a standard metal baking sheet heats up fast, sure, but it doesn't hold onto that heat. The moment you slide a cool pizza onto it, the tray's temperature plummets, and it struggles to get back up to temp. This leads to an unevenly cooked base that’s often pale and a bit soft in the centre.
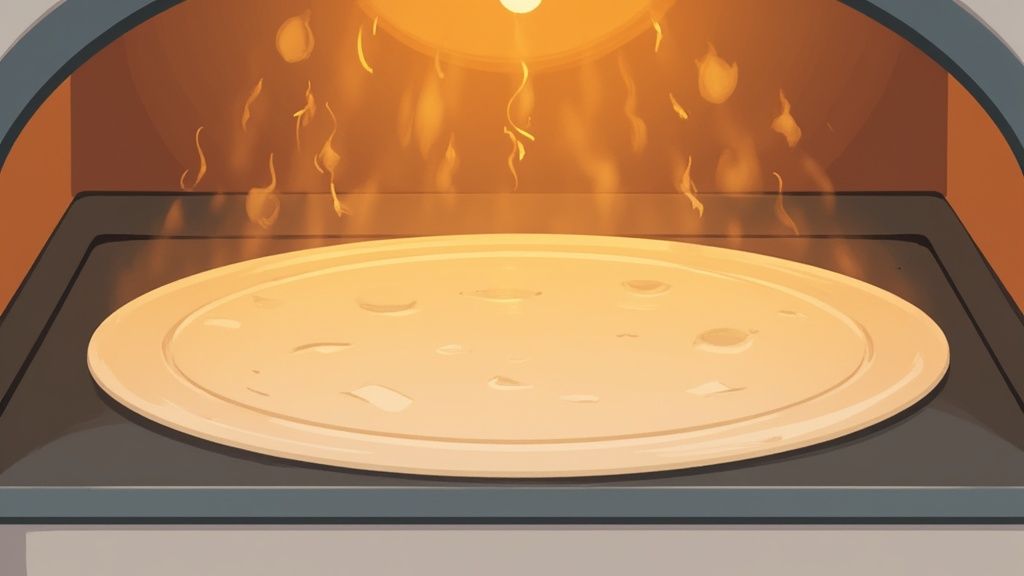
A pizza stone, though, is like a thermal battery. It’s usually made from a porous material like ceramic or cordierite, and it spends a long time in the oven just soaking up heat and storing it. When you finally launch your pizza onto its blistering surface, it hits the dough with a powerful, consistent wave of heat from below.
The Science of the Sizzle
This intense, immediate heat does two crucial things that take your pizza from just "good" to absolutely lekker (that’s a South African word for great or delicious).
- It Creates "Oven Spring": That initial shock of heat makes the gases inside the dough expand like crazy. This puffs up the crust, giving you that light, airy texture with all those beautiful bubbles.
- It Wicks Away Moisture: The porous stone actually pulls moisture away from the bottom of the dough. This is the real secret to banishing the dreaded soggy bottom forever, leaving you with a base that’s satisfyingly crisp and sturdy enough to handle any topping you throw at it.
My own moment of truth is hearing that faint sizzle as the dough hits the hot stone. It's the sound of a perfect crust in the making, and it’s a sound you’ll just never get from a flimsy metal tray.
More South Africans are getting into making proper artisanal pizza at home. It’s a fast-growing trend, and the numbers back it up. The pizza oven market in South Africa pulled in over USD 83 million in 2023, and pizza stones are a massive part of that growth as people chase that authentic pizzeria experience. If you’re interested, you can read the full research on the South African pizza oven market to see just how big this has become.
Choosing the Right Pizza Stone or Steel
Not all pizza-making surfaces are born equal. Stepping into the world of pizza stones can feel a bit overwhelming at first, with different materials, shapes, and sizes all promising the perfect crust.
The good news is that choosing the right one isn't complicated once you know what to look for. Your decision will really just come down to your budget, how often you’ll be making pizza, and how much you value durability.
Think of it like choosing the right wood for a braai—each type burns differently and gives a unique result. In the same way, each pizza stone material has its own character and cooking style. Let's break down the main contenders you'll find here in South Africa.
Cordierite: The Reliable All-Rounder
If you're looking for a dependable, long-lasting pizza stone for oven use, cordierite is your best bet. This is a natural mineral known for its incredible ability to handle high temperatures and, more importantly, sudden temperature changes. This resistance to thermal shock is its superpower.
You can take a cordierite stone from a screaming hot oven without the constant fear of it cracking. I learned this the hard way with my first, cheaper stone. Cordierite is also porous, which helps it pull moisture from the dough, giving you that sought-after crispy base. It’s the workhorse of the pizza stone world—not too flashy, but it will never let you down.
- Pros: Highly durable, excellent thermal shock resistance, great heat retention.
- Cons: Can be slightly more expensive than basic ceramic options.
Ceramic: The Budget-Friendly Starter
Ceramic stones are often the most affordable and widely available option you'll see. They do a solid job of absorbing and radiating heat, and they’ll definitely produce a better pizza than a standard baking tray. If you're just starting out or only make pizza every now and then, a ceramic stone is a great entry point.
However, there's a big catch: they are fragile. Ceramic is very susceptible to thermal shock. Placing it in an already hot oven, splashing it with cold water, or even just a clumsy knock can lead to a heartbreaking crack. You have to be gentle with them, always heating the stone up with the oven from cold.
Baking Steel: The High-Performance Heavyweight
For the serious pizza enthusiast chasing the ultimate crust, baking steel is the top-tier choice. Steel is a far better conductor of heat than any stone material—it transfers heat to the dough incredibly quickly and efficiently. This results in a phenomenal "oven spring" (the rapid puffing of the crust) and a faster, crispier bake, often in just a few minutes.
This performance comes at a price. Baking steels are typically the most expensive option, and they are seriously heavy. You also need to care for them like a cast-iron pan, keeping them lightly oiled to prevent rust. But if you’re after the absolute best performance your home oven can deliver, a steel is a worthy investment.
For those dreaming of taking their passion pro, understanding equipment costs is key. A helpful resource on restaurant startup costs for a pizza joint can offer some fascinating insights into the commercial side of things.
Pizza Stone vs Baking Steel At a Glance
To make things easier, here’s a quick comparison to help you weigh your options. It's a direct look at the most popular pizza surfaces to help you decide which is best for your braai or oven setup.
| Feature | Cordierite Stone | Ceramic Stone | Baking Steel |
|---|---|---|---|
| Heat Transfer | Good and steady | Decent but slower | Excellent and fast |
| Durability | Very durable | Fragile, cracks easily | Almost indestructible |
| Price (R) | Mid-range (R400-R800) | Low-range (R200-R400) | Premium (R1000+) |
| Maintenance | Low (scrape clean) | Low (scrape clean) | Medium (requires oiling) |
| Best For | Everyone, from beginner to pro | Beginners on a tight budget | Enthusiasts seeking perfection |
Ultimately, the choice comes down to your personal braai style. Cordierite offers the best balance of performance and durability, ceramic is great for dipping your toes in, and steel is for those who accept nothing less than the best.
Size and Shape: What Fits Your Oven
Before you click "buy," grab a measuring tape and check your oven’s internal dimensions. This is crucial. You need to leave at least 2-3 centimetres of space around all sides of the stone to allow for proper air circulation. A stone that’s too big will block heat flow and lead to uneven cooking.
- Round Stones: Perfect for standard round pizzas. They are often lighter and easier to handle. A 35cm round stone is a great all-purpose size for most home ovens.
- Rectangular Stones: These offer more surface area, making them great for larger, rustic-style pizzas, baking bread, or even cooking two smaller pizzas at once. They can be heavier and a bit more awkward to store.
My advice? If you're unsure, start with a round cordierite stone. It’s the most forgiving and versatile option. You can always upgrade later if you get bitten by the pizza bug and want to explore more, perhaps even looking at dedicated outdoor pizza ovens for that true wood-fired flavour.
Mastering the Perfect Pizza Launch
So you've got yourself a brand-new pizza stone for oven use. That’s a brilliant start, but owning the gear is only half the battle. The real magic, the thing that separates a pretty good homemade pizza from a truly unforgettable one, is all in the technique.
Let's walk through the whole process, from the first flick of the oven switch to that glorious moment you slide a perfect pizza onto the cutting board.
First things first, and this is the golden rule: always put a cold stone into a cold oven. Then, let them heat up together. Shoving a cold stone into a blazing hot oven is a recipe for disaster—the thermal shock is the quickest way to hear that dreaded cracking sound.
The Critical Preheat Phase
Patience, my friend, is a virtue when it comes to your pizza stone. It needs a good, long time to soak up enough heat to blast-cook your pizza base in just a few minutes. Whatever you do, don't rush this bit.
For that crispy, leopard-spotted crust we're all chasing, you have to preheat your oven with the stone inside for at least 45 to 60 minutes. Crank your oven right up to its absolute maximum temperature, which is usually around 250°C for most standard South African home ovens. This long preheat turns the stone into a roaring hot thermal battery, ready to dump all that energy straight into your dough.
A classic rookie mistake is pulling the trigger too soon. Your oven light might click off after 15 minutes, but that only means the air inside is hot—the stone itself is nowhere near ready. Give it the full hour; you'll taste the difference in the crust, I promise you.
Assembling for a Stick-Free Launch
While your stone is getting seriously hot, it’s time to build your pizza. The trick here is to assemble it on a pizza peel, never directly on the stone. A pizza peel is that big, paddle-like tool that lets you slide the pizza onto the hot stone in one smooth move.
To avoid the heartbreak of your masterpiece sticking to the peel, you need to create a non-stick surface.
- Flour or Semolina: Dust your pizza peel generously with flour. Even better, use coarse semolina. Semolina acts like millions of tiny ball bearings, helping the pizza base glide off the peel without any drama.
- Work Quickly: Don’t let your topped, wet dough hang around on the peel for too long. The moisture from the sauce will eventually soak through the flour and make it stick like glue. Build your pizza, and get it in the oven. Sharp sharp.
- The Shuffle Test: Before you even take a step towards the oven, give the peel a quick little forward-and-back jiggle. The pizza should slide around freely. If it’s caught in one spot, I gently lift the edge and toss a bit more semolina underneath. I do this every single time—it’s my final pre-flight check.
This infographic breaks down the essential choices you'll make when selecting and preparing your pizza surface.
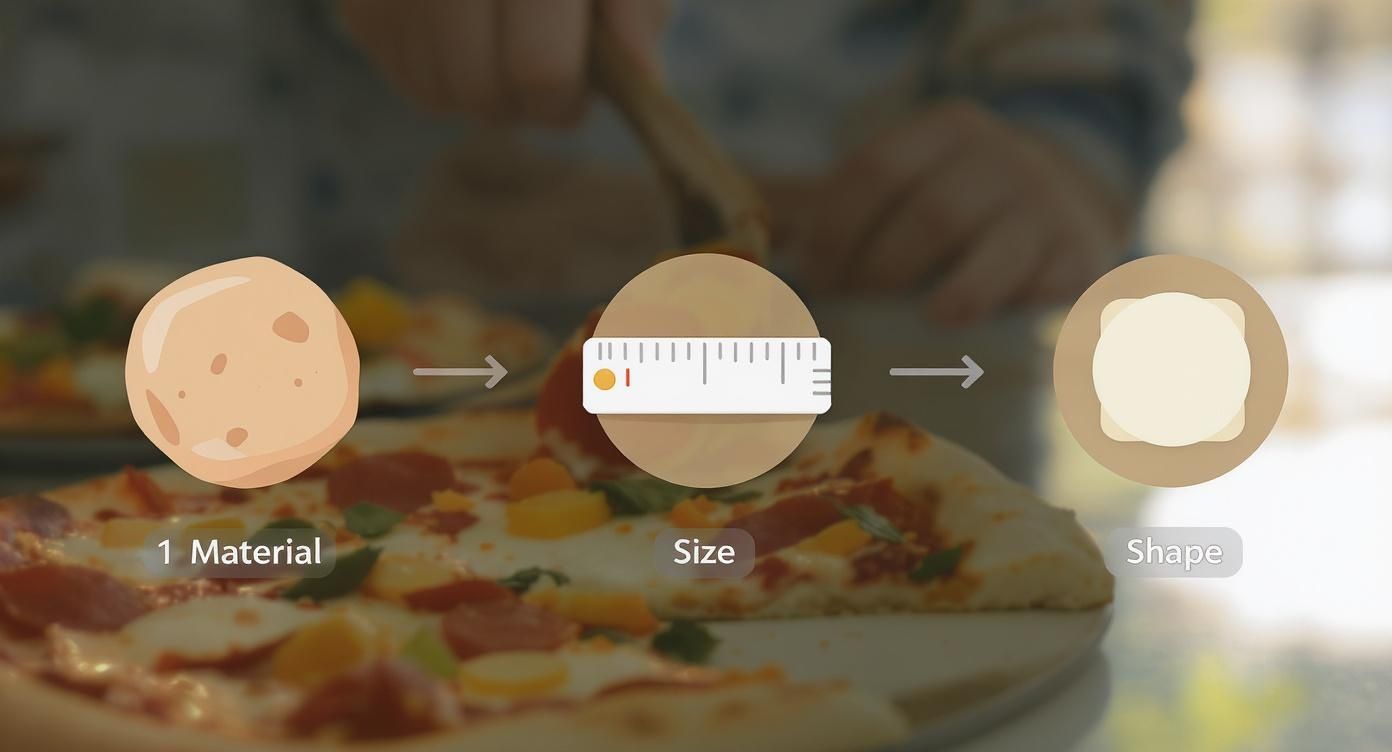
The visualisation highlights that getting the material, size, and shape right is the foundation for a successful pizza launch.
Launching, Cooking, and Retrieving
Alright, this is the main event. Open the oven door, position the tip of your peel towards the back of the hot stone, and with a confident, quick jerk, pull the peel out from under the pizza. Don't be timid about it; a decisive, sharp motion is what you're after.
On a properly preheated stone, your pizza will cook incredibly fast—usually in about 5 to 8 minutes. About halfway through, use the peel or a pair of tongs to give the pizza a 180-degree turn. This helps get an even bake, as most home ovens have hot spots.
You’ll know it’s done when the cheese is bubbling and melted and the crust is a gorgeous golden-brown. To get it out, just slide the peel back under the pizza and lift. Let it rest for a minute on the counter before you slice it; this gives the cheese a moment to set. And that’s it. You’ve just nailed the launch and cooked a truly brilliant pizza.
How to Clean and Care for Your Pizza Stone
One of the first things you'll notice about your new pizza stone is that it starts to change colour. Don't panic! After a few pizzas, it will develop dark, splotchy stains. This is a good thing.
A stained, well-used pizza stone is a seasoned stone. Think of it as a badge of honour, a sign of many delicious pizzas past and many more to come. Caring for your stone is less about making it look brand new and more about keeping it in top form for a lifetime of use. It's incredibly simple, but everything hinges on one golden rule.
The Most Important Rule: Never Use Soap
Your pizza stone is porous, a bit like a terracotta pot. That's its secret weapon—it pulls moisture from the dough to give you that incredible crispy crust. But if you introduce soap or any chemical detergents, that porous surface will soak them right up like a sponge.
The next time you heat the stone, those cleaning agents will get baked in and release a soapy flavour straight into your pizza. Trust me, nobody wants a margherita that tastes of dishwashing liquid. So, what’s the right way to clean it?
The Simple, Soap-Free Cleaning Method
Cleaning your pizza stone for oven use is a straightforward job that requires more patience than elbow grease.
Cool It Down Completely: This is non-negotiable. Once you're done cooking, just switch the oven off and leave the stone inside to cool down naturally with the oven. This can take an hour or two. Never, ever expose a hot stone to cold water; the thermal shock will crack it in a heartbeat.
Scrape Off the Big Stuff: When the stone is completely cool to the touch, grab a metal spatula, a bench scraper, or even a stiff brush. Use it to scrape off any burnt-on cheese, toppings, or bits of dough.
Wipe with a Damp Cloth: For any stubborn residue, a quick wipe with a cloth dampened with plain water is all you need. Don't soak the stone or run it under the tap.
Air Dry Thoroughly: Let the stone air dry completely before you use it again or put it away. Any trapped moisture can turn into steam when it heats up, which is another common reason for cracking.
Remember, the goal is to get rid of loose food, not to erase the stains. Those dark, seasoned patches are marks of honour. They build up a patina over time that actually helps create a more non-stick surface for your next pizza.
Storing Your Pizza Stone
When it comes to storage, the easiest and safest place for your pizza stone is right inside your oven. Just leave it on the bottom rack. It stays out of the way, it’s protected from accidental knocks, and it even helps to regulate your oven's temperature for other types of baking.
This simple routine will ensure your stone lasts for years, becoming a trusted mate in your kitchen. It’s a completely different approach from caring for other cookware. For example, the techniques for a non-porous surface are distinct, as you'll see in our guide on how to season cast iron. With a pizza stone, less is always more.
Troubleshooting Common Pizza Stone Problems
Look, even with the best intentions and carefully followed instructions, sometimes a pizza night goes a bit sideways. It happens. A cracked stone or a stubbornly stuck pizza base can feel like a disaster, but don’t pack it in just yet. These moments are just part of the learning curve.
Most problems you'll run into with a pizza stone for oven use are surprisingly common and, thankfully, have simple fixes. Think of this as your guide for figuring out what went wrong and how to fix it, turning a potential flop into a lekker pizza next time.
Why Did My Pizza Stone Crack?
Hearing that dreaded ping of a cracking stone is a gut-wrenching moment for any pizza lover. More often than not, the culprit is something called thermal shock. This is just a fancy way of saying the stone went from one extreme temperature to another, way too fast.
Your stone is a bit like a terracotta pot; it expands when it's hot and contracts when it cools. If this happens too quickly, the stress is too much, and crack! It’s the number one killer of pizza stones, especially the more fragile ceramic ones.
Here are the usual suspects behind thermal shock:
- Placing a cold stone in a hot oven. This is the classic mistake. Always, always put the stone in a cold oven and let them preheat together.
- Putting a frozen pizza on a hot stone. Imagine the shock of a frozen base hitting a surface that’s well over 200°C. It's a recipe for disaster.
- Giving a hot stone a cold bath. Never, ever take a hot stone from the oven and run it under the tap to clean it. Let it cool down completely inside the oven for at least an hour.
- Trapped moisture. If your stone isn't bone dry before you heat it, any water trapped inside can turn to steam and expand, cracking it from the inside out.
My rule is simple: be gentle with temperature changes. Treat your stone with a bit of respect, and it will give you years of service. A sudden crack is almost always preventable.
Why Is My Pizza Sticking to the Stone?
There's nothing more frustrating than crafting the perfect pizza, only for it to weld itself to the stone. You go to pull it out, the toppings slide off, and you’re left with a cheesy, saucy mess. Usually, a sticky situation like this comes down to one of three things.
1. Your Stone Wasn't Hot Enough
A properly preheated stone (we're talking at least 45-60 minutes) instantly sears the bottom of the dough. This cooks the moisture out and creates a crisp, non-stick crust. If the stone is underheated, the wet dough has time to settle into the stone's pores and form a bond.
2. The Dough Was Too Wet or Sticky
A very high-hydration dough can be tricky to handle. If your dough feels tacky to the touch, it’s far more likely to stick. Make sure you knead it well and use enough flour when you're shaping it to create a dry "skin" on the outside of the dough ball.
3. Not Enough Release Agent on the Peel
Before you even think about launching your pizza, it must be able to slide freely on the peel. My go-to solution is a generous dusting of coarse semolina. It acts like tiny ball bearings, giving you a much better glide than fine flour, which just absorbs moisture and burns quickly.
Common Fixes for Common Problems
Here’s a quick-glance table to help you sort out issues on the fly.
| Problem | Likely Cause | Solution |
|---|---|---|
| Soggy Bottom Crust | Stone wasn't preheated for long enough. | Preheat for a full 60 minutes at your oven's max temperature (250°C). |
| Burnt Bottom, Raw Top | Stone is too close to the bottom heating element. | Move the oven rack (and stone) to a middle position for more balanced heat. |
| Pizza Stuck to Peel | Dough is too wet or not enough semolina. | Use more semolina on the peel and do the "shuffle test" before launching. |
Once you understand these common pitfalls, you can troubleshoot with confidence. Every pizza you make is a chance to refine your technique, and soon enough, these problems will be a thing of the past.
Using Your Pizza Stone on the Braai
For any true braai enthusiast, the fun doesn't have to stop at the kitchen door. Taking your pizza stone from the oven to the braai is a brilliant way to get that authentic, smoky flavour into your pizza crust, turning your backyard into a high-heat pizzeria.
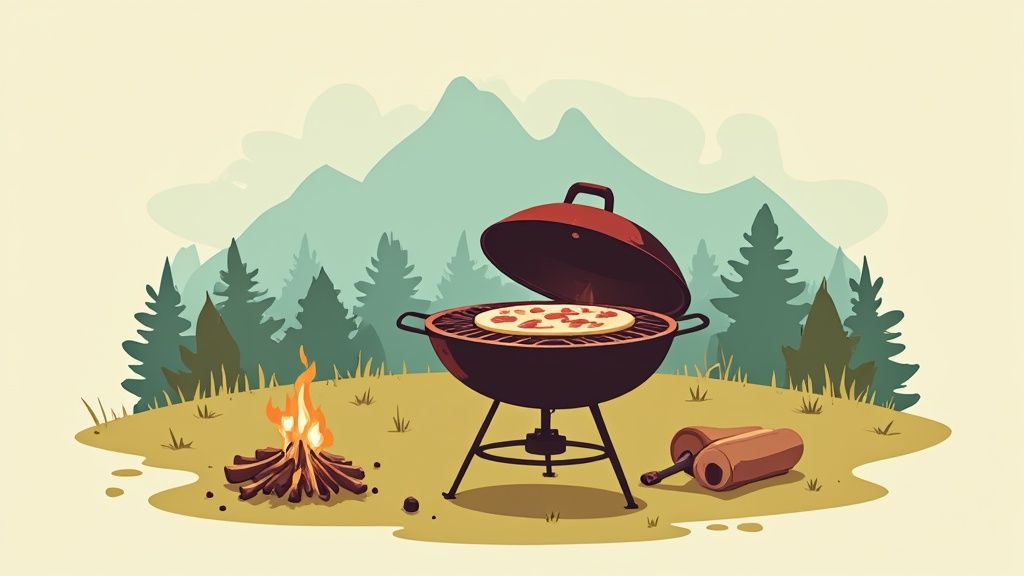
Whether you're using a classic kettle braai or a modern gas setup, the principle is the same: you want to create indirect heat. This lets you bake the pizza perfectly without torching the bottom, mimicking the intense, all-around heat of a proper pizza oven.
Setting Up a Kettle Braai for Pizza
The key to success on a charcoal braai is mastering the two-zone fire. It's a fundamental braai skill that gives you incredible temperature control.
- Arrange Your Coals: Once your coals are ready and covered in a layer of grey ash, bank them all over to one side of the kettle. This gives you a hot zone (for direct heat) and a cool zone (for indirect heat).
- Position the Stone: Place your cooking grid on the braai, then set your pizza stone over the cool zone, well away from the direct heat of the coals.
- Preheat with the Lid On: Pop the lid on the kettle, making sure the vents are open for airflow. You'll want to let the stone preheat for at least 20–30 minutes. The trapped heat will turn your braai into a makeshift convection oven.
This setup is crucial. It stops that intense direct heat from scorching the pizza base before the toppings have a chance to cook and the cheese gets perfectly melted and bubbly.
Using a Pizza Stone on a Gas Braai
You can get the same indirect heat on a gas braai, as long as it has multiple burners. The goal is to heat the stone without putting it directly over a roaring flame.
- Create Indirect Heat: If you have a three-burner gas braai, for example, switch the two outer burners on to a medium-high heat and leave the centre burner completely off.
- Place and Preheat: Position your pizza stone on the grid, sitting directly over the unlit centre burner.
- Close the Lid: Close the lid and let the stone preheat for about 15–20 minutes. The ambient heat from the side burners will heat both the stone and the air inside the braai.
Braai Master's Tip: I always use a good pair of high-temperature gloves when handling a hot stone on a braai. The grid can be less stable than an oven rack, so I use tongs to give the stone a gentle nudge to ensure it's secure before I launch my pizza.
For those adventurous enough to take their pizza stone outside, the principles are quite similar to using commercial charbroilers, which also rely on intense, indirect heat for even cooking.
And don't forget, your pizza stone isn't just for pizza. Use it on the braai to bake flatbreads, sear vegetables, or even make smash burgers. It's a truly versatile piece of kit that can elevate your outdoor cooking, bridging the gap between a simple braai and the capabilities of dedicated al fresco ovens.
Your Top Pizza Stone Questions, Answered
We get a lot of questions from the Braai Culture community about getting the best results from a pizza stone for oven baking. To save you some time, I’ve put together quick-fire answers to the queries that pop up most often.
Do I have to clean my pizza stone after every use?
Nah, a full-on scrub-down isn't necessary. Once the stone has cooled down completely, just grab a spatula and scrape off any burnt-on bits of food. You'll notice it starts to get stained and dark over time – that's a good thing! It's a sign of a well-seasoned stone and won't mess with the flavour of your next pizza.
Just remember the golden rule: never, ever use soap. The stone is porous and will soak it up, leaving your next meal tasting like dishwashing liquid. A simple scrape and a wipe with a damp cloth are all you need.
What's the best temperature for a pizza stone?
For that proper, crispy crust you’re chasing, you need serious heat. Get your oven cranked up to its absolute maximum temperature, which is usually somewhere between 230°C and 260°C for most home ovens, and preheat the stone inside.
Here's the crucial bit: you need to give that stone a solid 45 to 60 minutes to heat up. This makes sure it’s absorbed enough heat to instantly cook the base, giving you that lekker, pizzeria-style finish we all love.
Can I put a frozen pizza straight onto a hot stone?
I would strongly advise against it. Slapping a frozen pizza onto a piping hot stone is a recipe for disaster. The extreme temperature difference, known as thermal shock, can easily cause your stone to crack.
For the best (and safest) results, always thaw your pizza completely first. If you're in a rush, you're better off using a normal baking tray for the frozen stuff.
Is a pizza steel actually better than a stone?
Good question. A pizza steel heats up faster and transfers heat more aggressively, which often gives you an even crispier crust and shaves a minute or two off the cooking time. But, they are much heavier, cost a fair bit more, and you'll need to oil them now and then to stop any rust from forming.
For most of us cooking at home, a good quality cordierite stone hits the sweet spot. It offers a fantastic balance of excellent performance, durability, and value for money.
Ready to take your homemade pizza from good to truly great? Having the right gear makes all the difference. Check out the range of high-quality pizza stones and accessories at Braai Culture and start your journey to the perfect crust. Find your ideal stone at https://braaiculture.com.