
Wood or charcoal
Build a fire. Cook over coals. Allow time to make enough coals.
Check the grid area and ember maker.
See an example ↓BUY WELL. BRAAI FOR YEARS.
Choose the size. Know the parts.
Plan the fire and the flue.
Use this built in braai guide to choose your size, components, fuel and flue before you build.
Start with the food you cook. Then check the space you have.

Choose a compact unit. Compare grid depth and ember-maker space.
Try a family-sized braai. Check the usable grid area.
Choose a larger wood braai for bigger meals.
Explore a wide wood + gas unit. Allow room for the braai and flue.
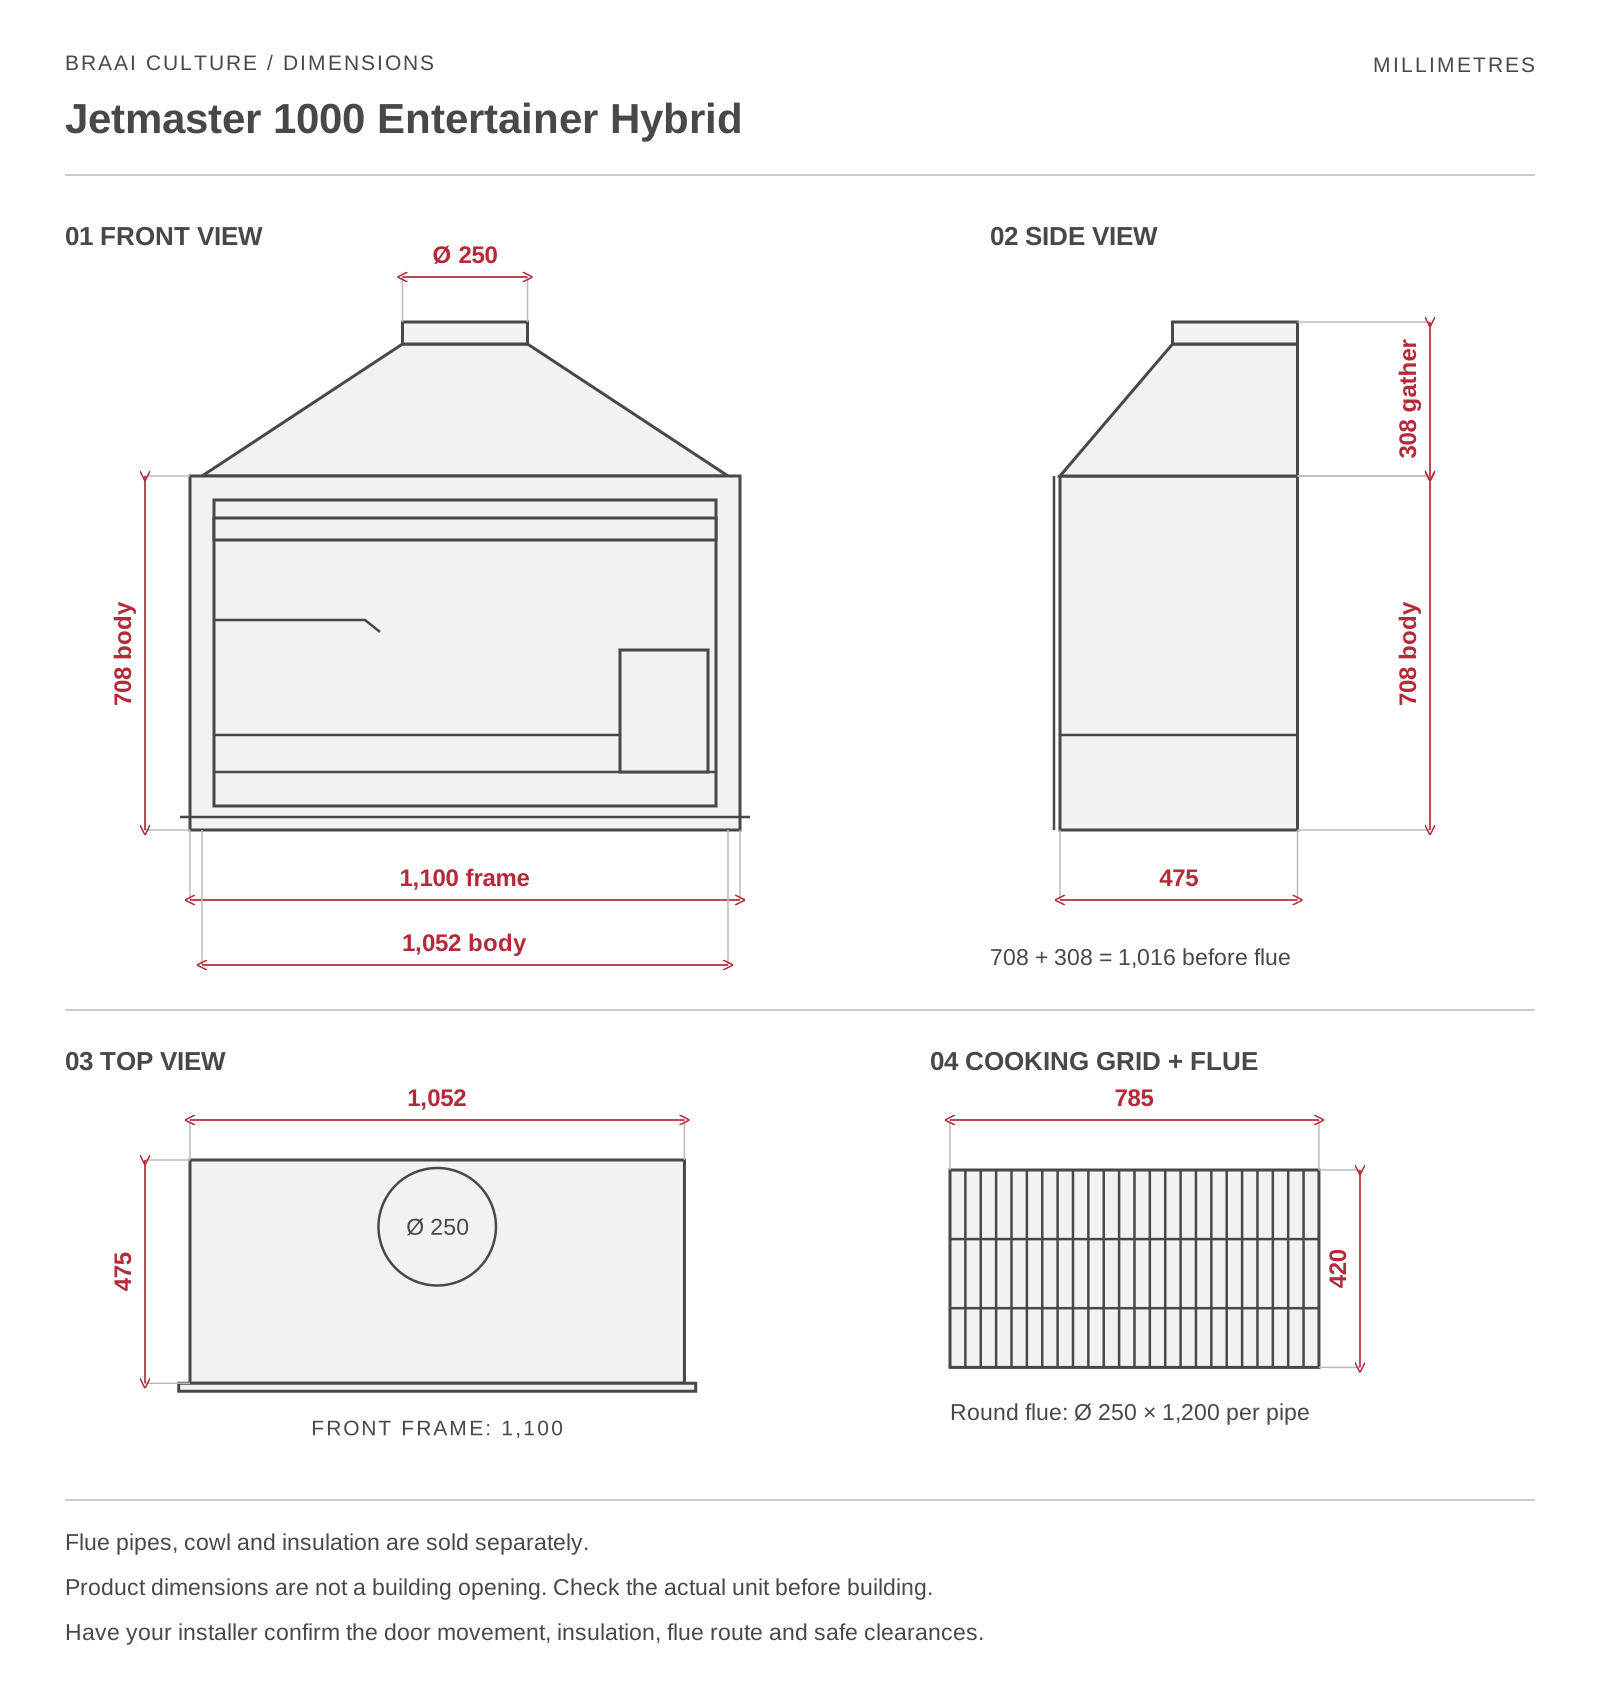
Sizes are nominal model sizes in millimetres (mm). They are not building-opening sizes. Guest numbers depend on the menu and cooking batches.
LOOK BEFORE YOU BUILD
Your installer must also allow for insulation, heat expansion and safe distances from materials that can burn.
Use the exact model drawing and manual. Confirm the building opening before work starts.
Explore our lifestyle images and 360° views to see each braai from every angle.
Send us a photo of your space for a preview and a quote.
Mild steel: keep it dry. Repair damaged protective paint as the manual instructs.
Stainless steel: check the grade and which parts use it. Coastal conditions need more care and a suitable grade.
Hybrid: Jetmaster’s Hybrid has a mild steel body and stainless steel front parts. This name describes the materials.
Ask us to check the finish for your location. Stainless steel still needs cleaning and care.
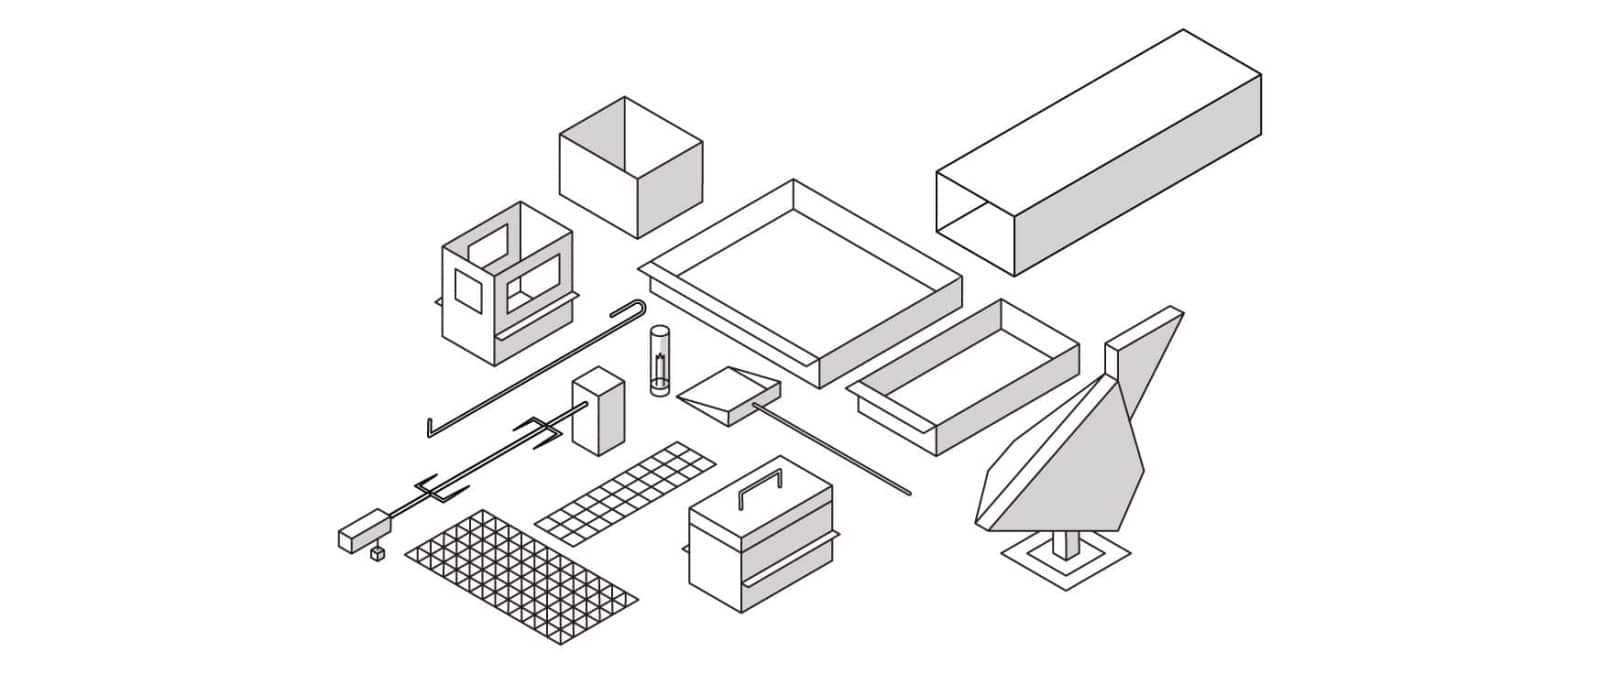
Keep the parts you need. Check which extras are separate.
Original Braai Culture parts illustration. Swipe on a phone. Select a number for its label. Parts vary by model.
Holds burning wood while coals fall below.
Joins compatible pipe sections. Some pipes have built-in joints.
Holds coals and collects ash. An ash drawer is a separate part.
Carries smoke from the hood to the outlet.
Supports rotisserie equipment. Check whether the motor and spit are included.
Holds a compatible potjie over the fire.
Lights the cooking area. Check the lamp and power needs.
Moves ash or coals. Use suitable heat protection.
Keeps cooked food warm. Names and positions vary by range.
Holds food above the heat. Check its usable width and depth.
Keeps food farther from the main heat.
A separate chamber on some models. Check the package list.
Sits above the flue. Helps keep rain out and manage wind.
Wood, gas or both. Match the braai to your routine.
Build a fire. Cook over coals. Allow time to make enough coals.
Check the grid area and ember maker.
See an example ↓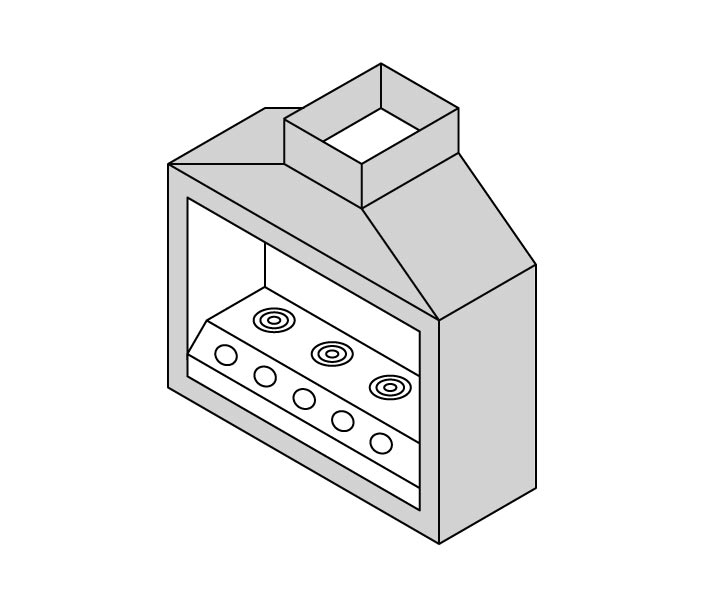
Light the burners. Adjust the heat. A useful choice for quick meals.
Check the gas type, airflow and approved location.
See an example ↓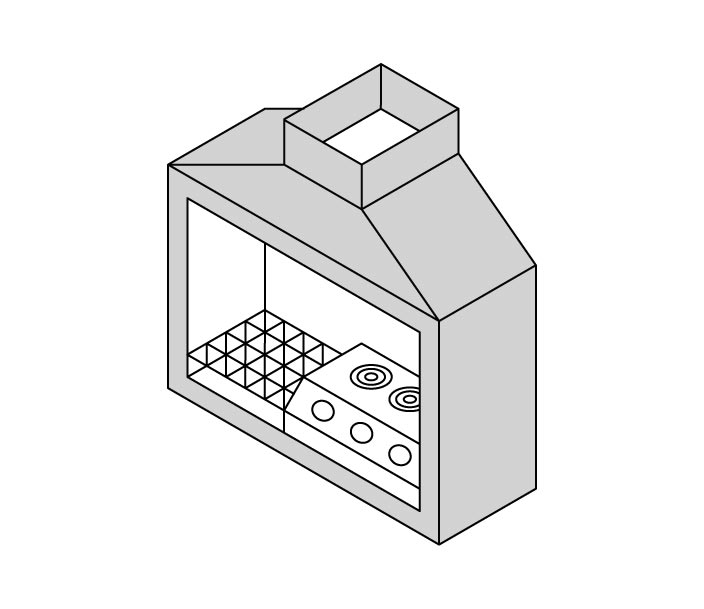
Use separate cooking areas for wood and gas. Choose either for each meal.
Compare each cooking area, not only total width.
See an example ↓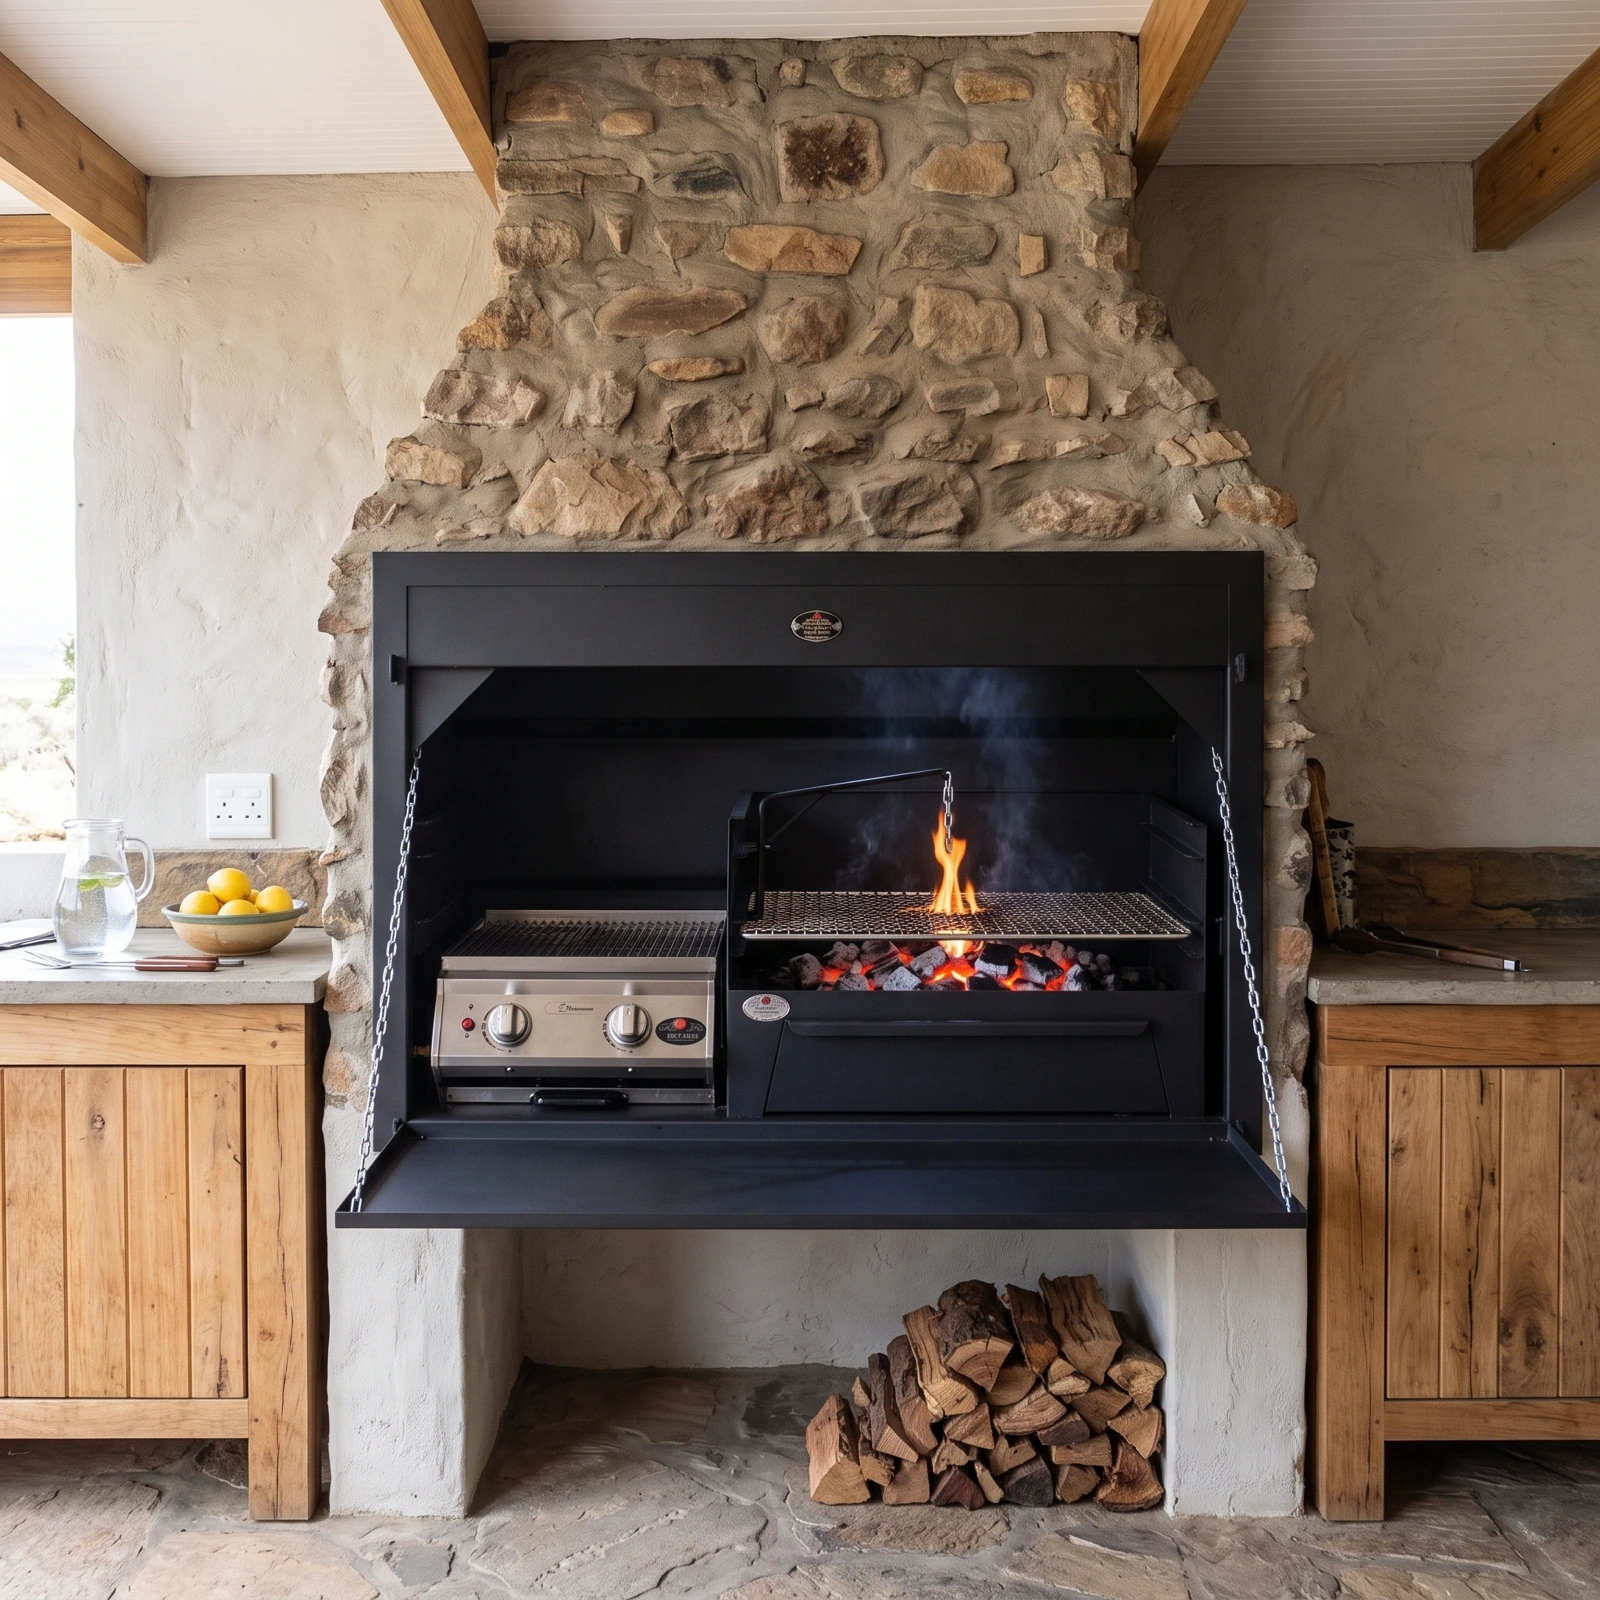
A FIREBOX OR A COUNTER?
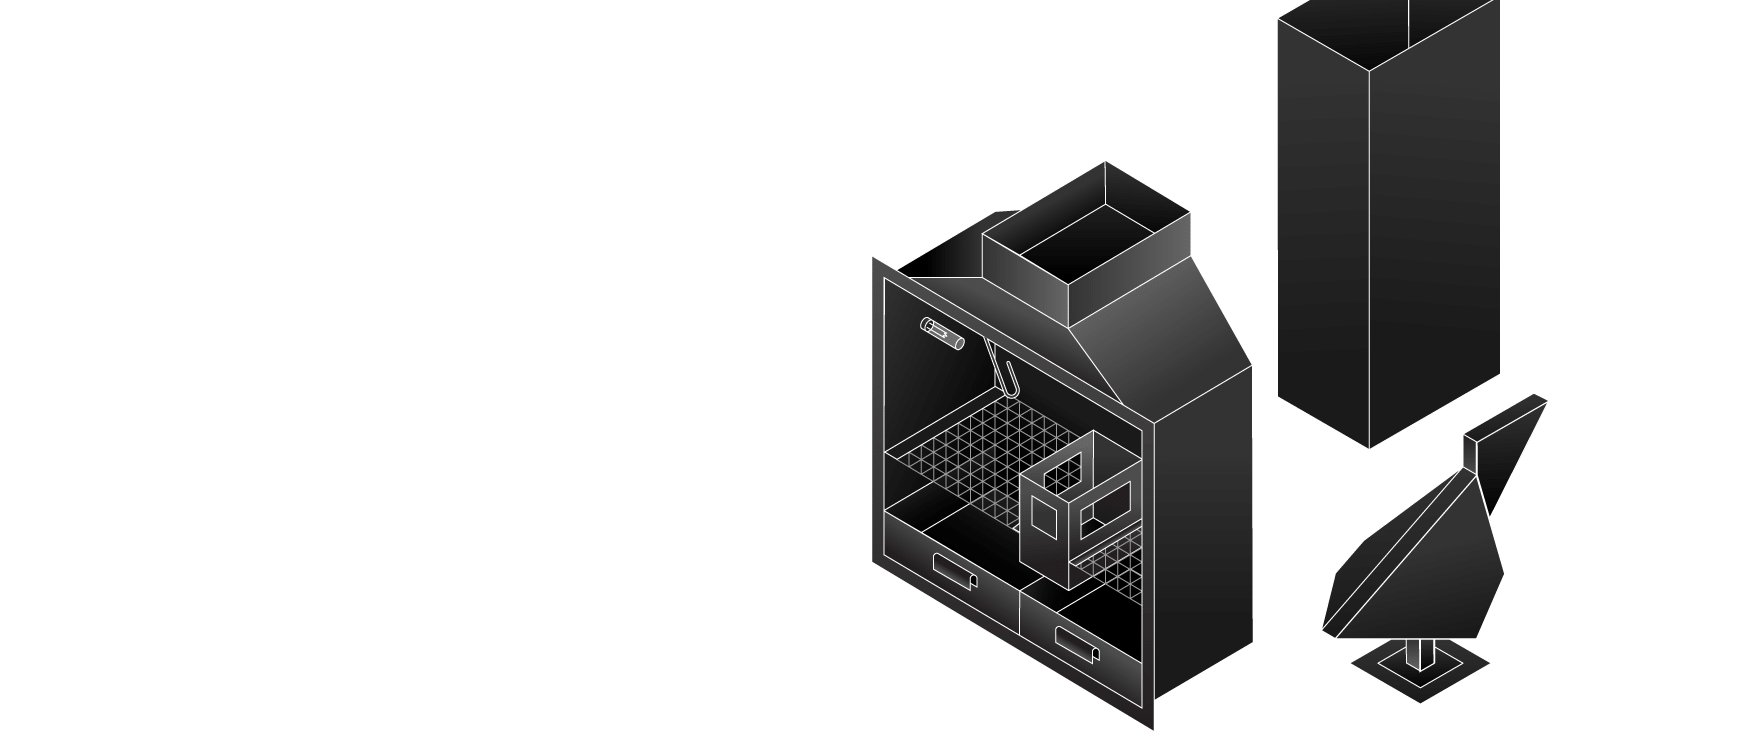
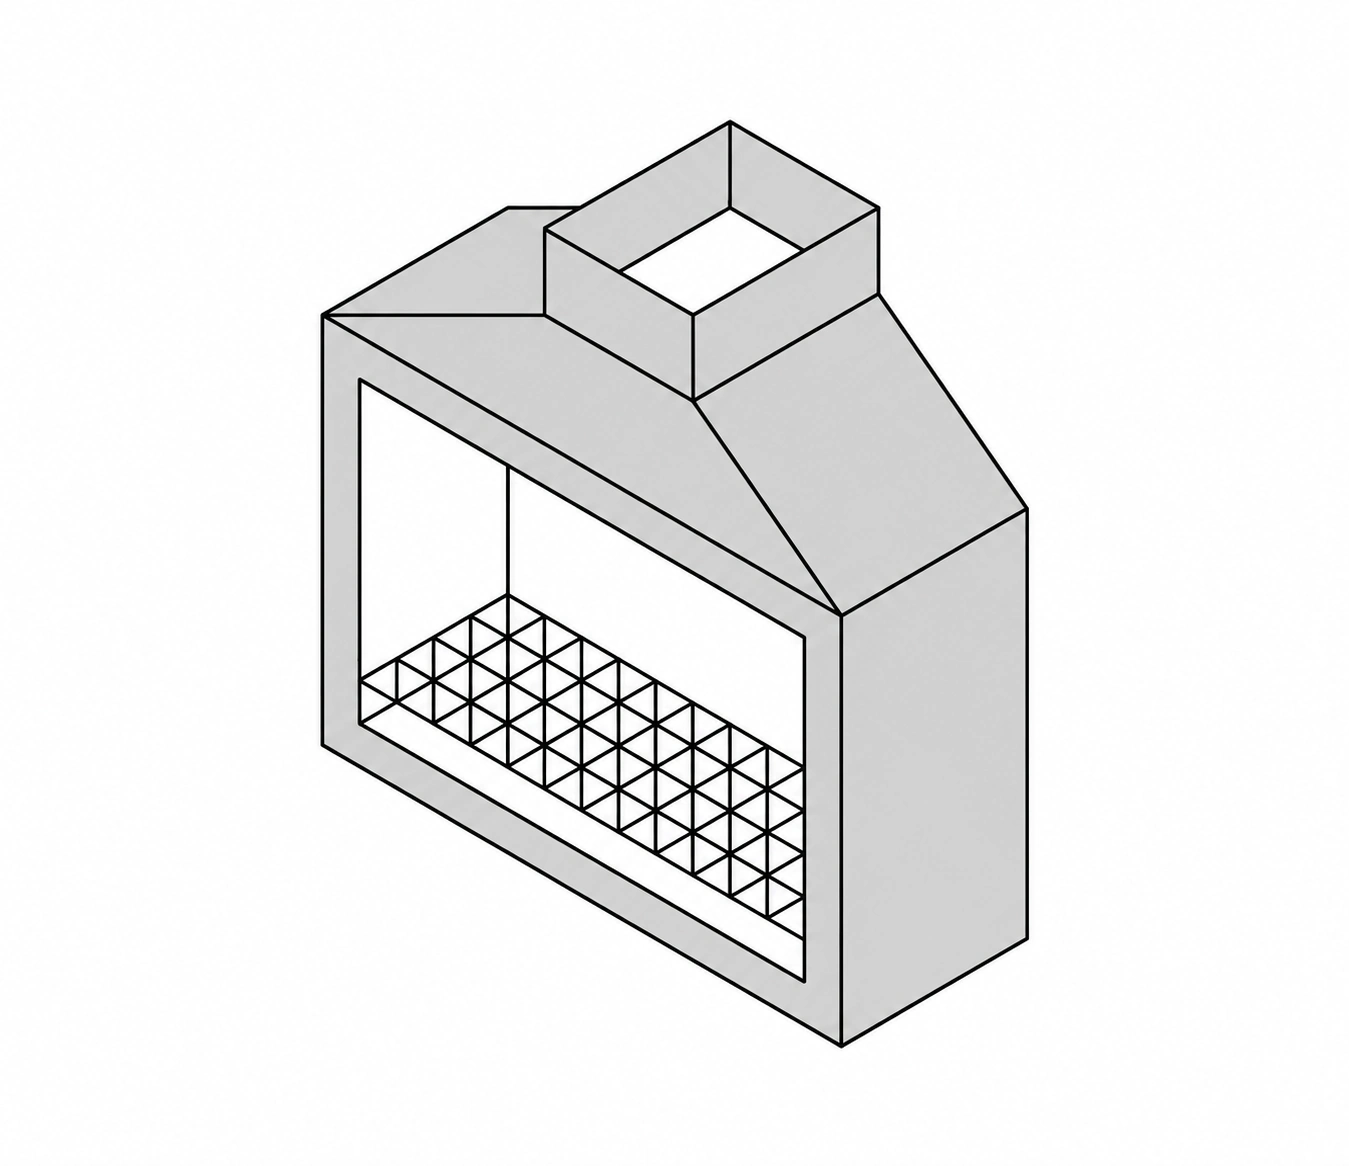
Built-in firebox: a grill sits inside a braai box and hood. Follow that model’s flue instructions.
Drop-in hob: a grill fits into a counter opening. The counter and cabinet need the specified ventilation and clearances.
A gas hob does not use the same installation as a wood braai. A roof does not make an outdoor gas grill suitable indoors.
Explore the Chad-O-Chef Hob ↓A flue is the smoke passage above the braai. Plan it before you build.
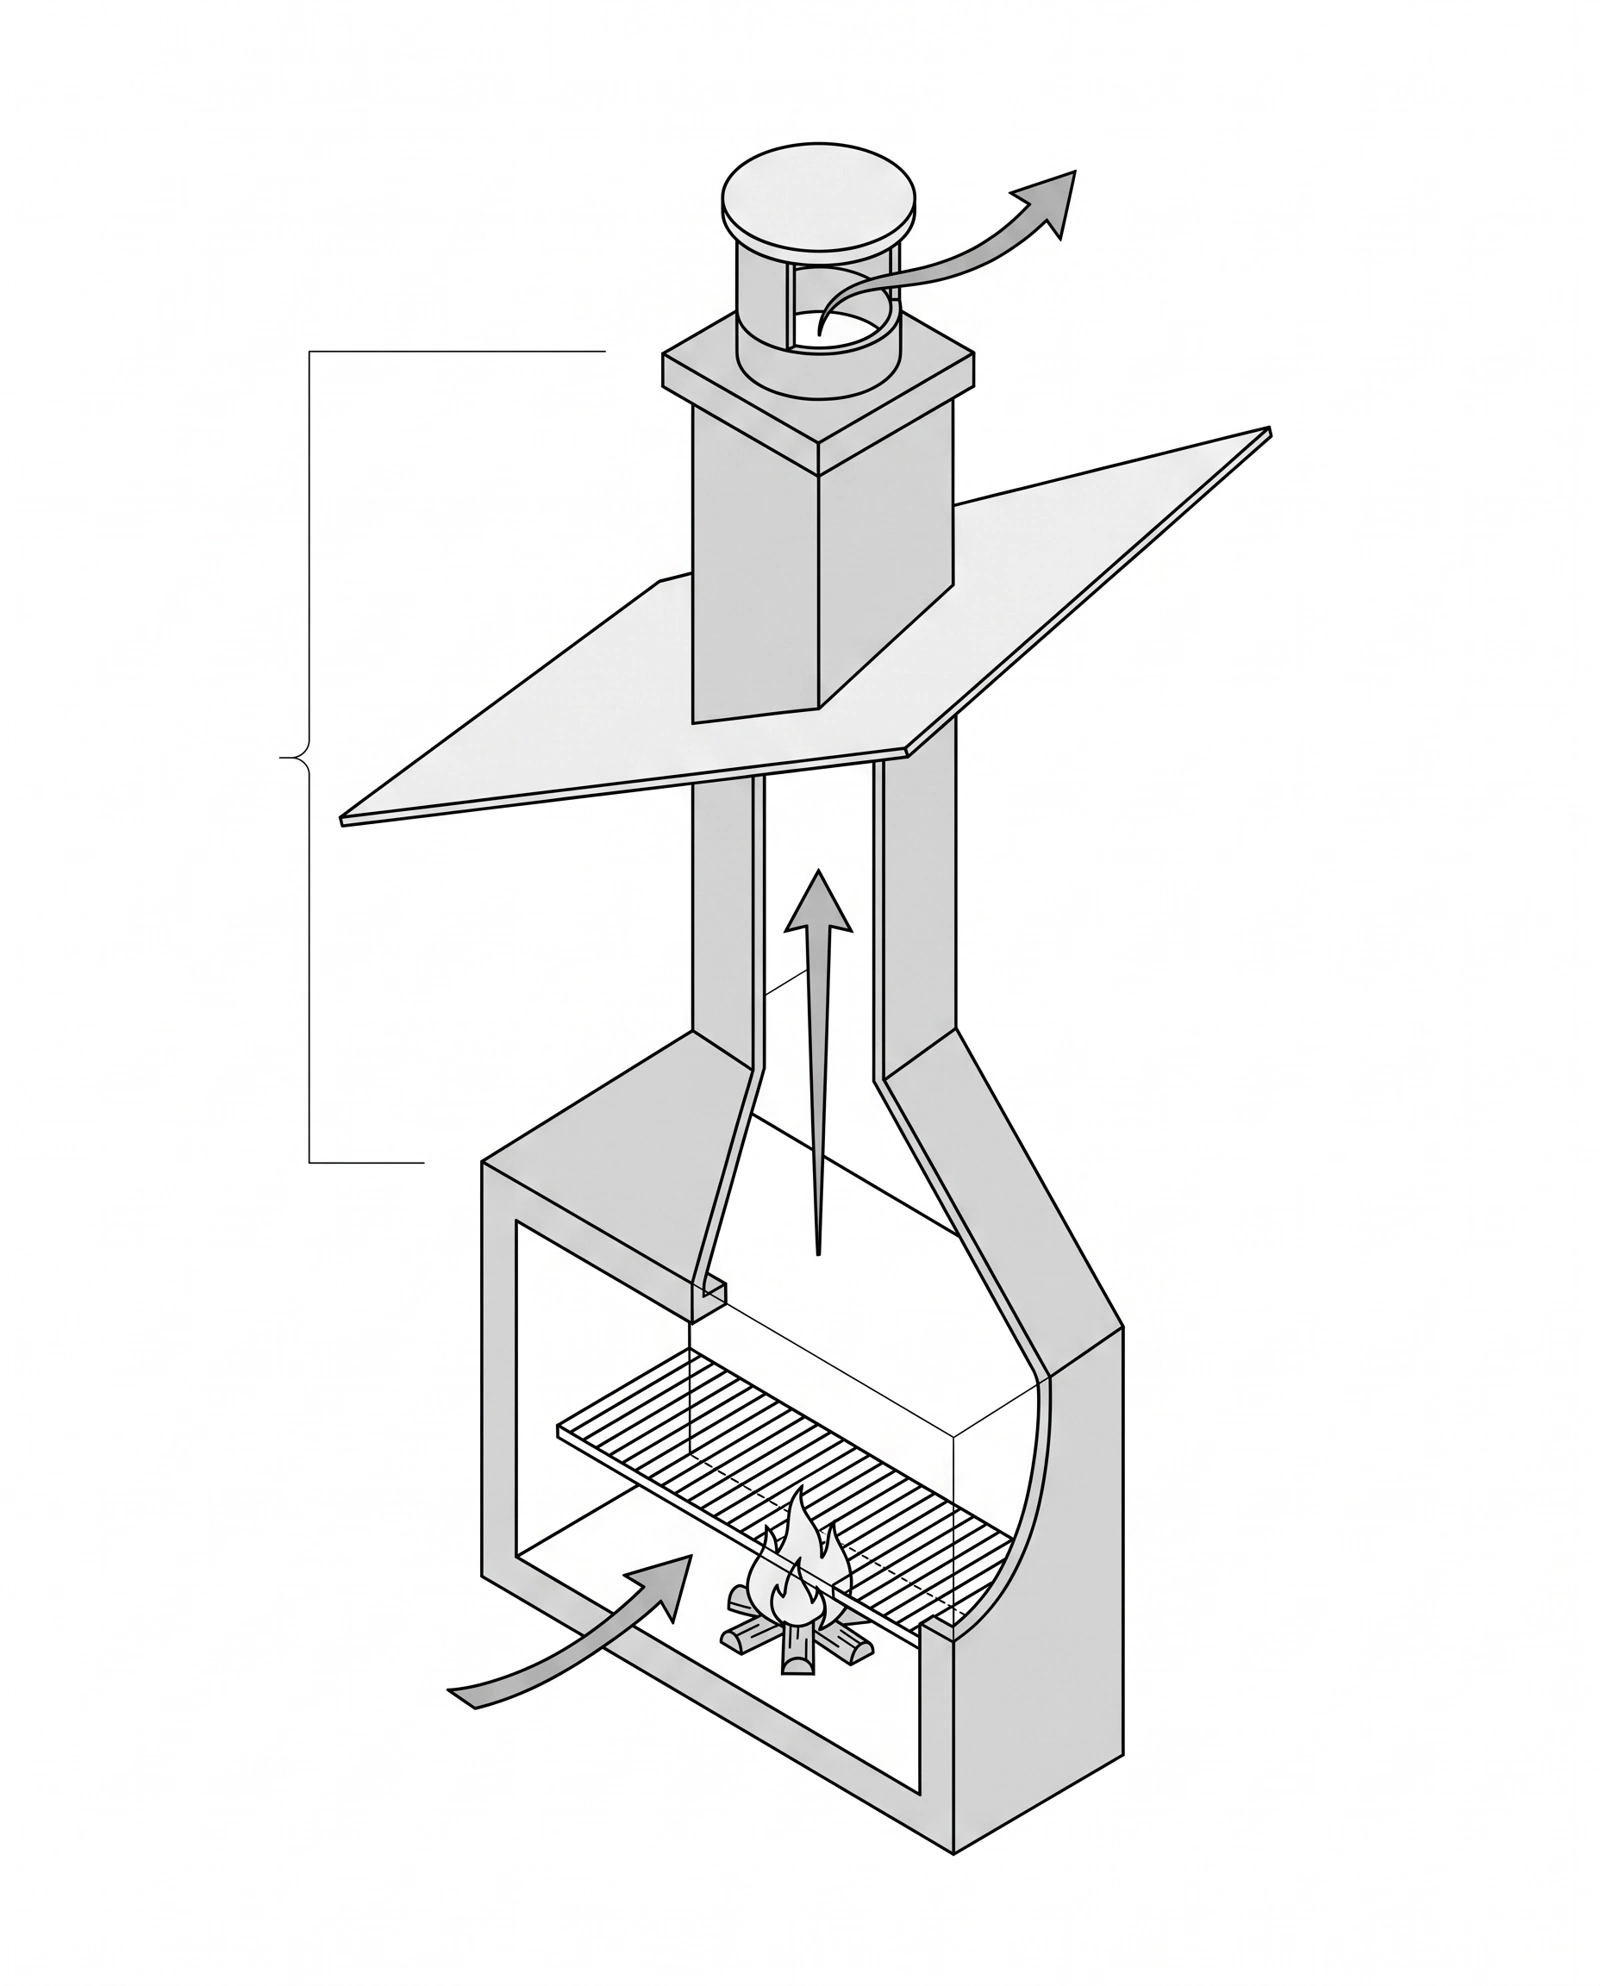 Pipe run
Hot smoke rises through the hood and flue. Fresh air enters the braai to replace it. This flow is called draught.
The outlet must finish where smoke can escape. A low outlet, tight bends or a blockage can reduce the flow.
A cowl helps with rain and wind. It cannot correct a blocked or badly planned flue.
The final route and height depend on the braai, roof and site. Ask your installer to confirm them.
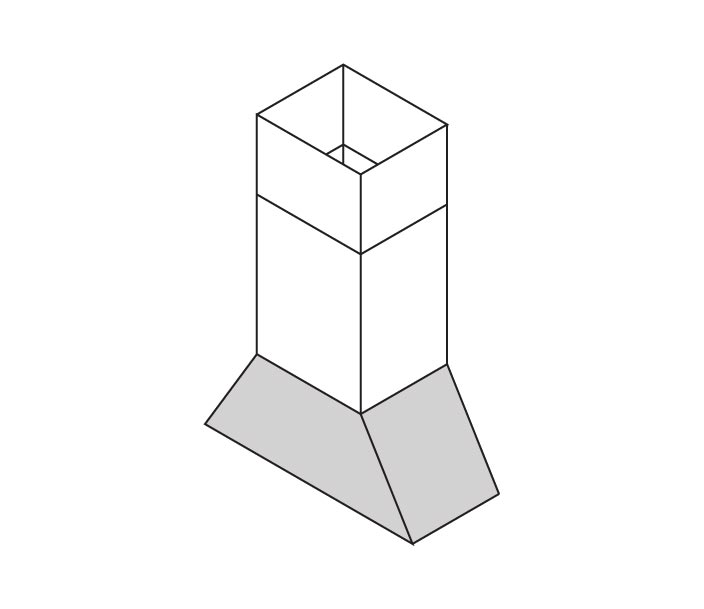
Collects smoke above the firebox. Check whether the braai includes it.
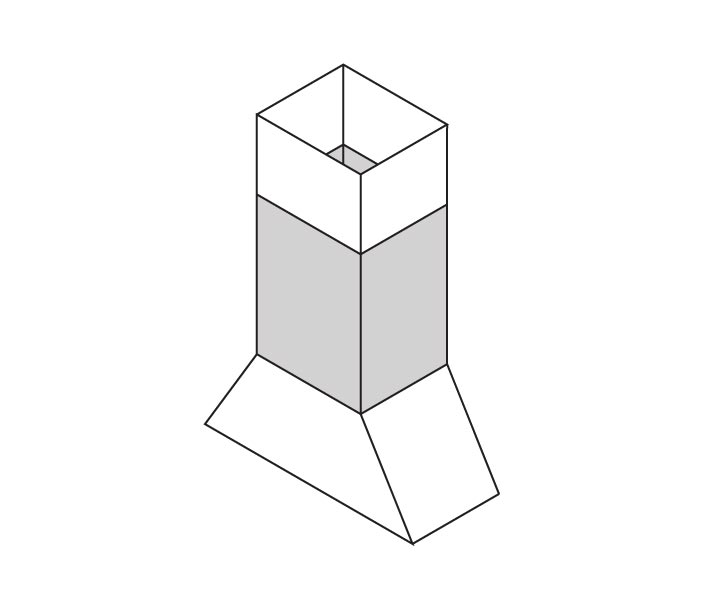
Extends the smoke passage. Match its shape, size and material.
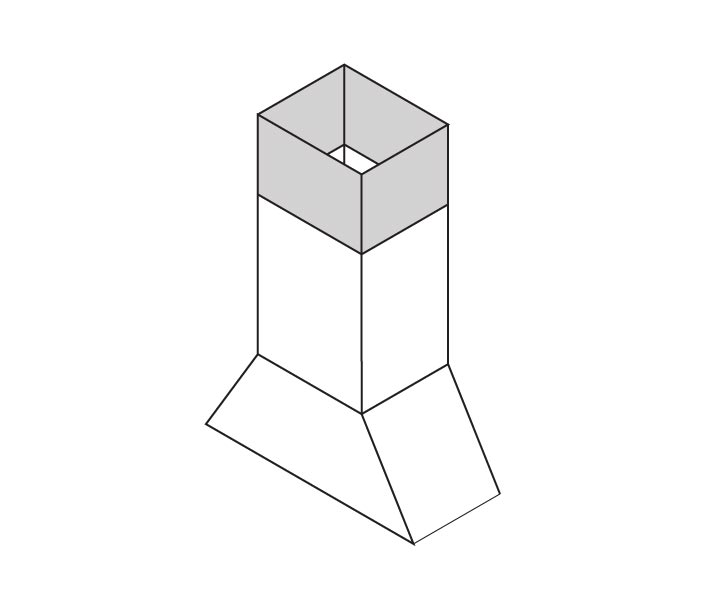
Connects sections where required. Formed pipe ends may join without a separate collar.
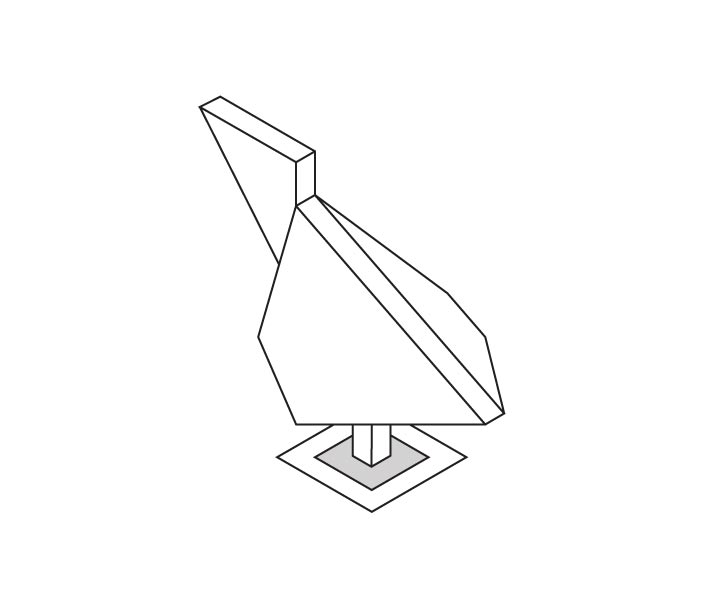
Finishes the top. Check whether the base and top are supplied together.
HOW MUCH PIPE?
Do not measure from the floor. Do not stop at the roof surface. Do not add the cowl’s full height as pipe length.
A Homefires bundle may include 2.4 m of pipe. This is the supplied amount; your site may need more.
STRAIGHT-RUN EXAMPLE
Your installer confirms a 3.0 m pipe run. Two 1.2 m sections give only 2.4 m before joint overlaps.
Three sections give 3.6 m before overlaps. The installer must check the usable length and permitted trimming.
Also check collars, base, cowl, roof seal and supports. Add bends only after the route is approved.
The outlet shape and area differ. The matching joints, cowl and base also differ.
Our Jetmaster 1000 Hybrid example uses a 250 mm round outlet. Our Homefires 1200 Combo offers 350 × 500 mm rectangular pipe.
The Homefires options include separate joining collars. The Jetmaster example’s pipe has a formed joining end.
Choose the exact model’s options. Do not reduce the passage or mix systems without manufacturer approval.
Stop using the braai if smoke enters the room. Ventilate the area and have the system checked.
Possible causes include too little fresh air, wet wood, soot, a blocked flue, a stuck cowl or poor outlet placement.
Have the flue and cowl inspected and cleaned as the manual requires. Do not assume another pipe section will solve every problem.
Compare the type and size. Open the drawing, lifestyle image or 360° view for each model.
Our product pages bring photos, design drawings and 360° views together to help you choose. Explore eight examples here.
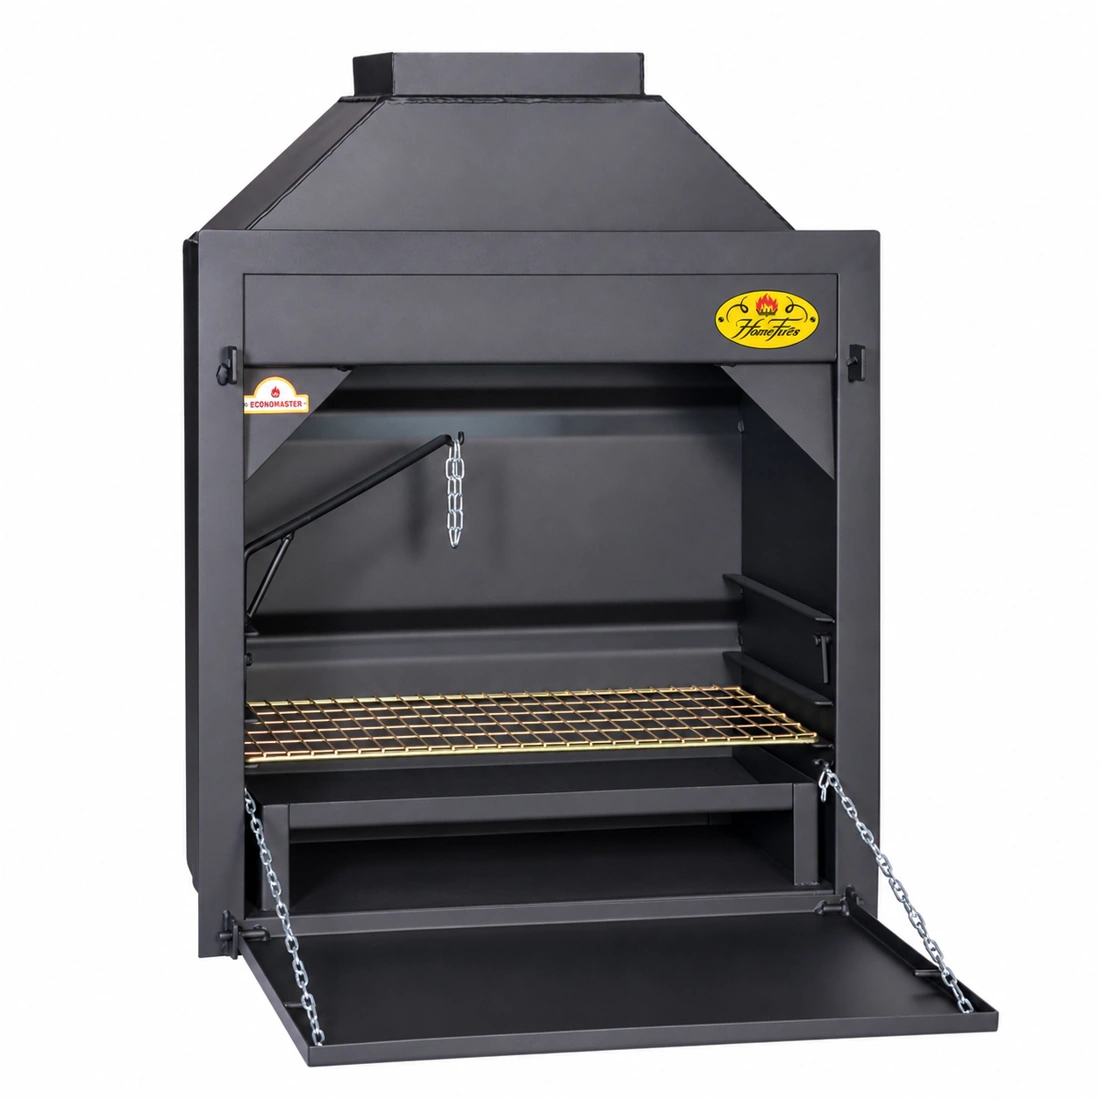
700 · Wood / charcoal
A compact full-width grid. No separate ember maker.
View product & options ↗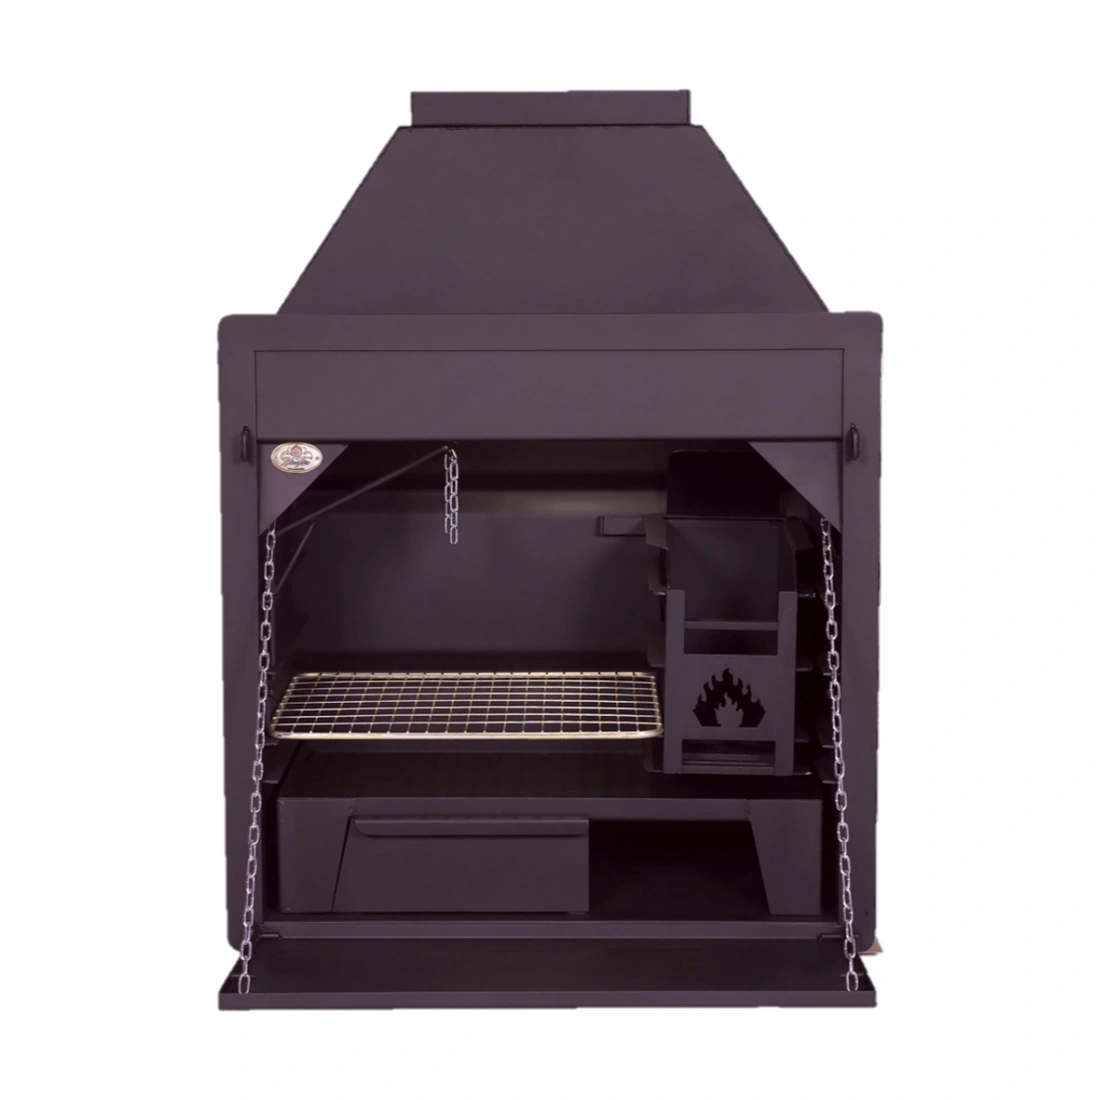
800 · Wood / charcoal
A separate ember maker, ash drawer and potjie holder.
View product & options ↗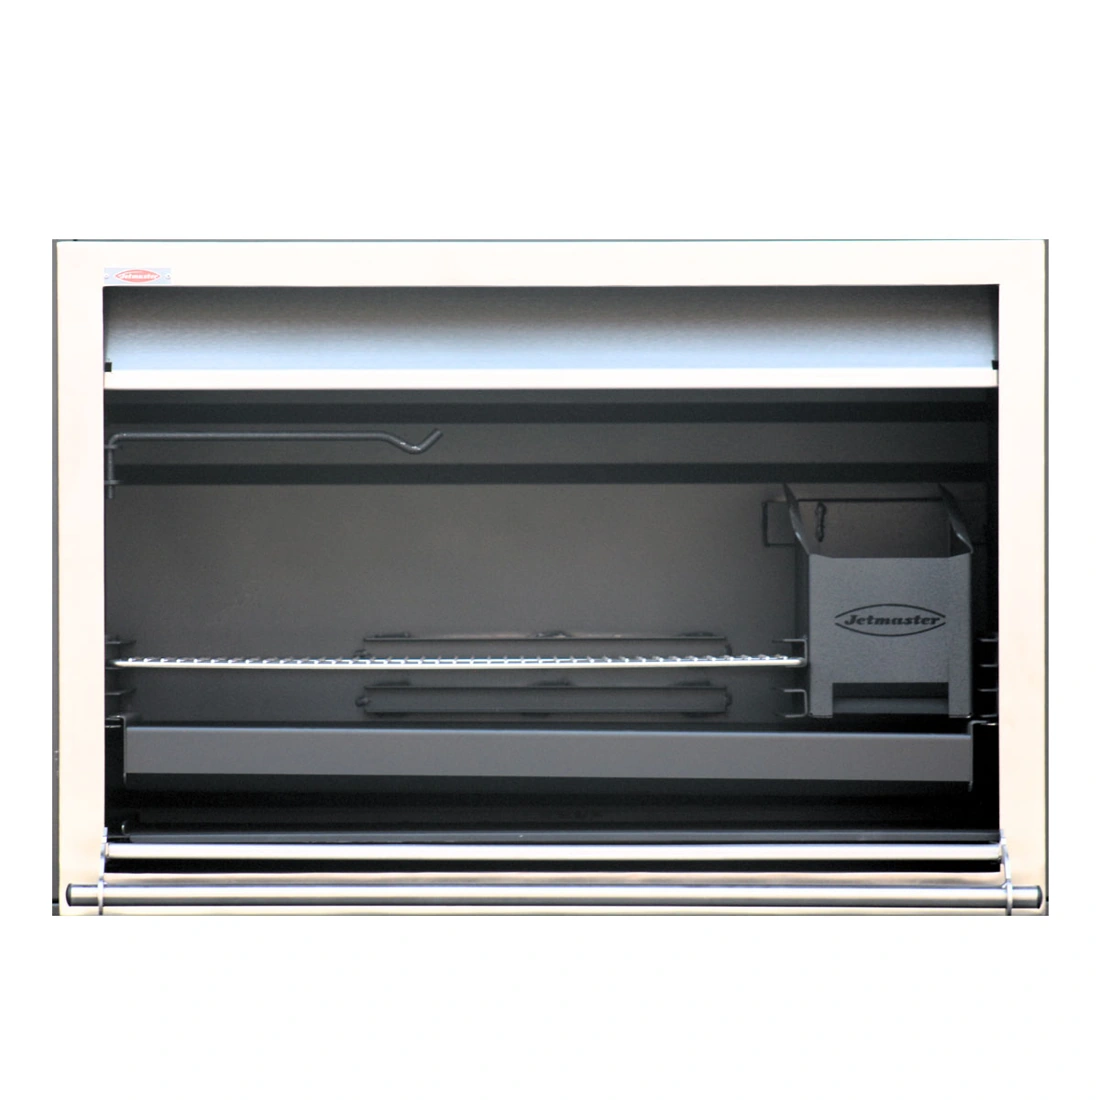
1000 · Wood / charcoal
Mild steel body. Stainless steel frame, fascia and door.
View product & options ↗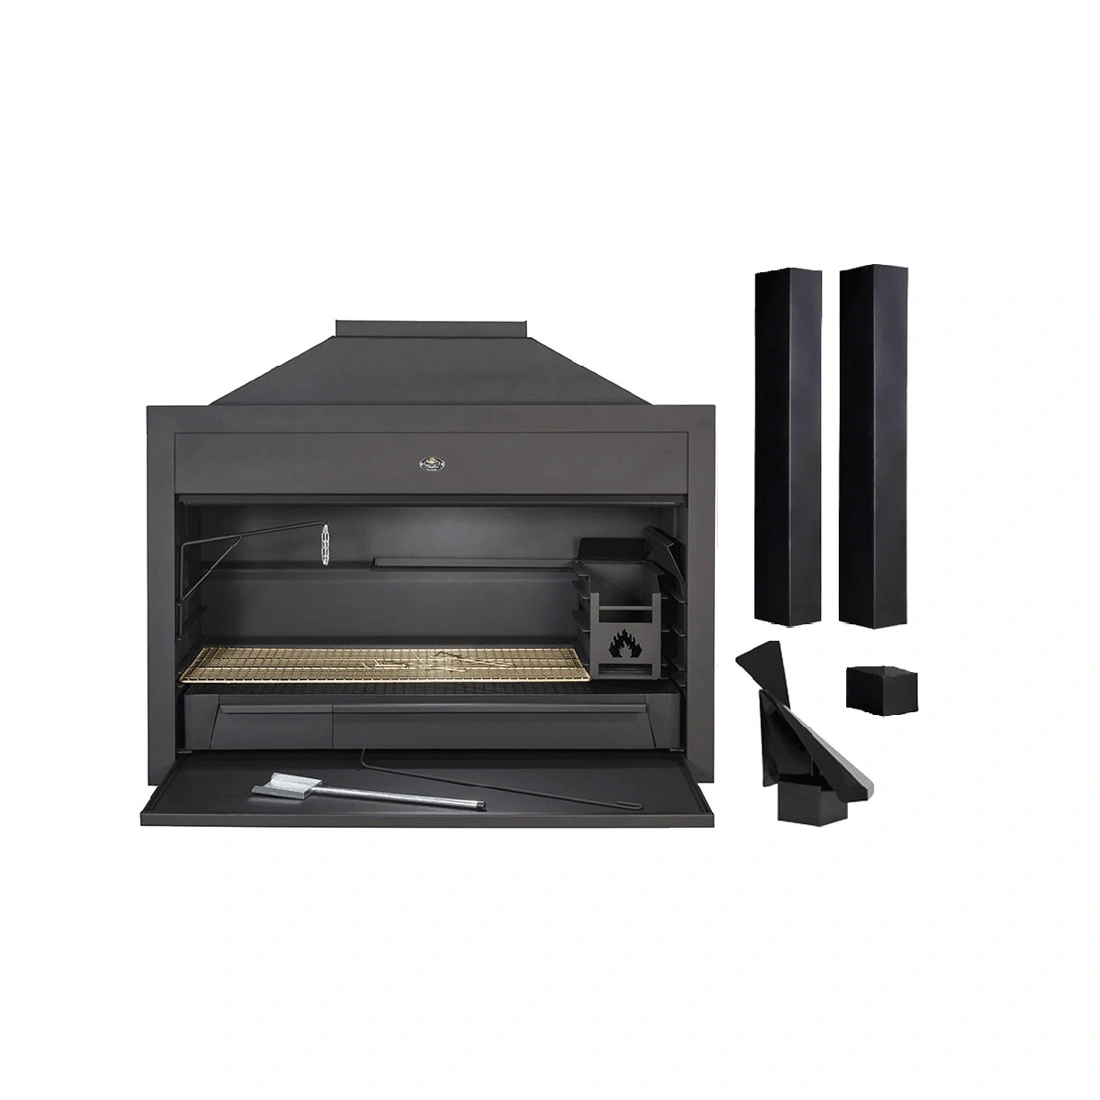
1200 · Wood / charcoal
Includes 2.4 m of flue, a slip-on base and rotating cowl.
View product & options ↗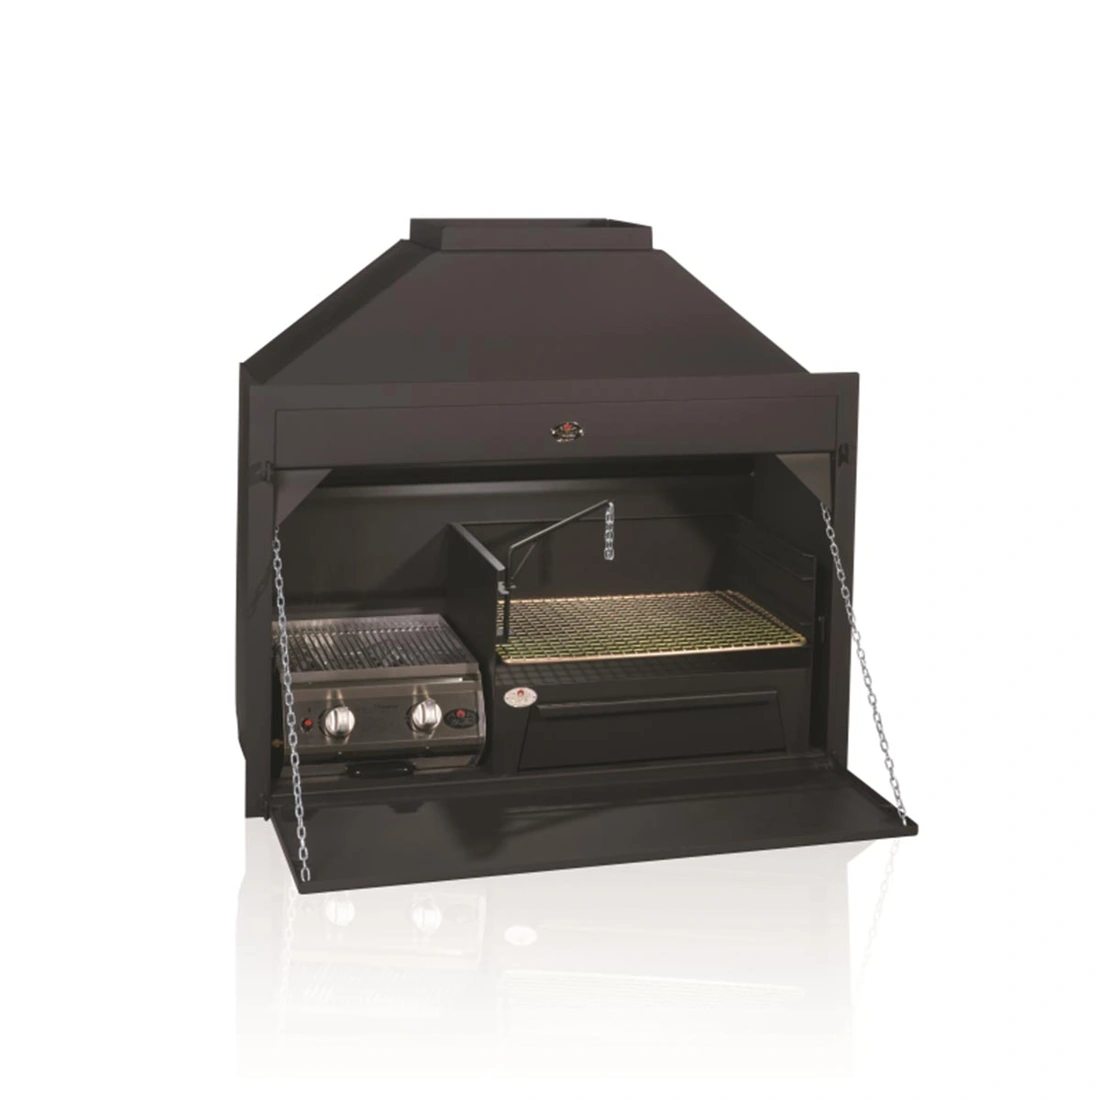
1200 · Wood + gas
Two-burner gas insert and a separate wood cooking area.
View product & options ↗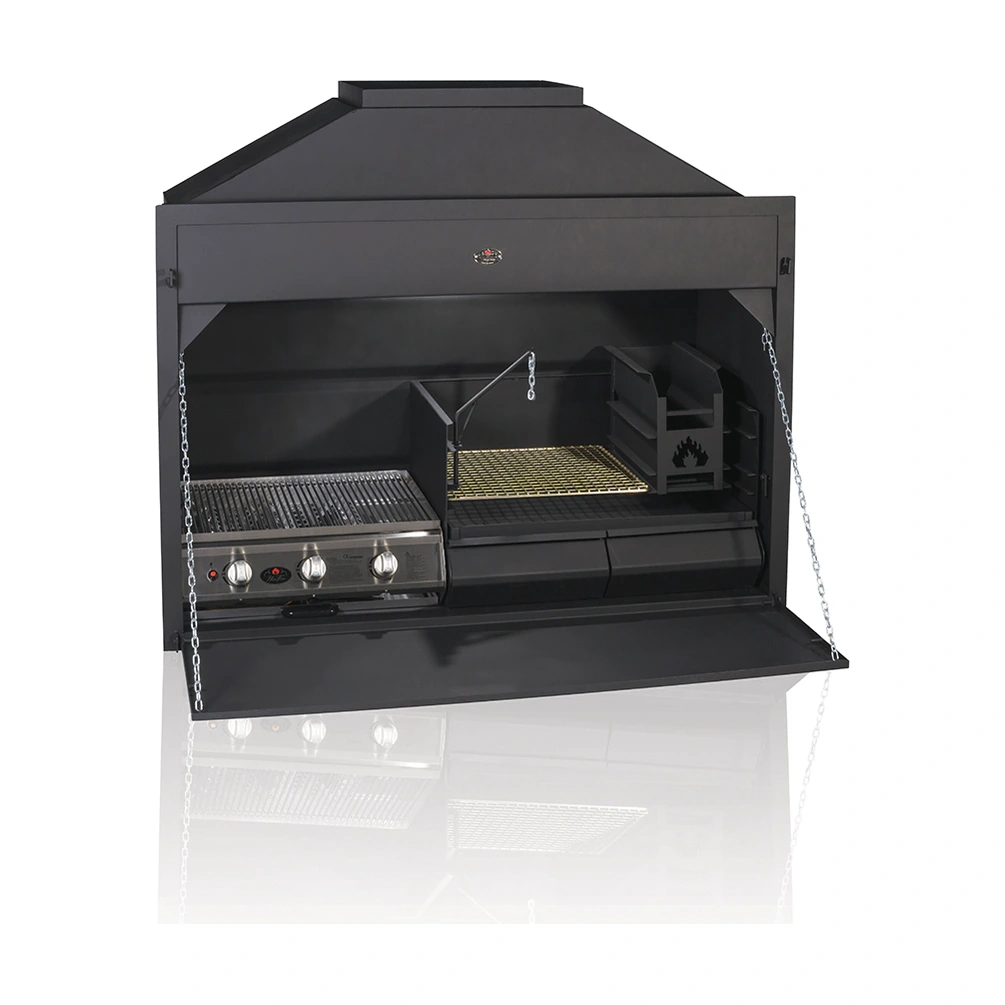
1500 · Wood + gas
Three-burner deep gas insert and a separate wood cooking area.
View product & options ↗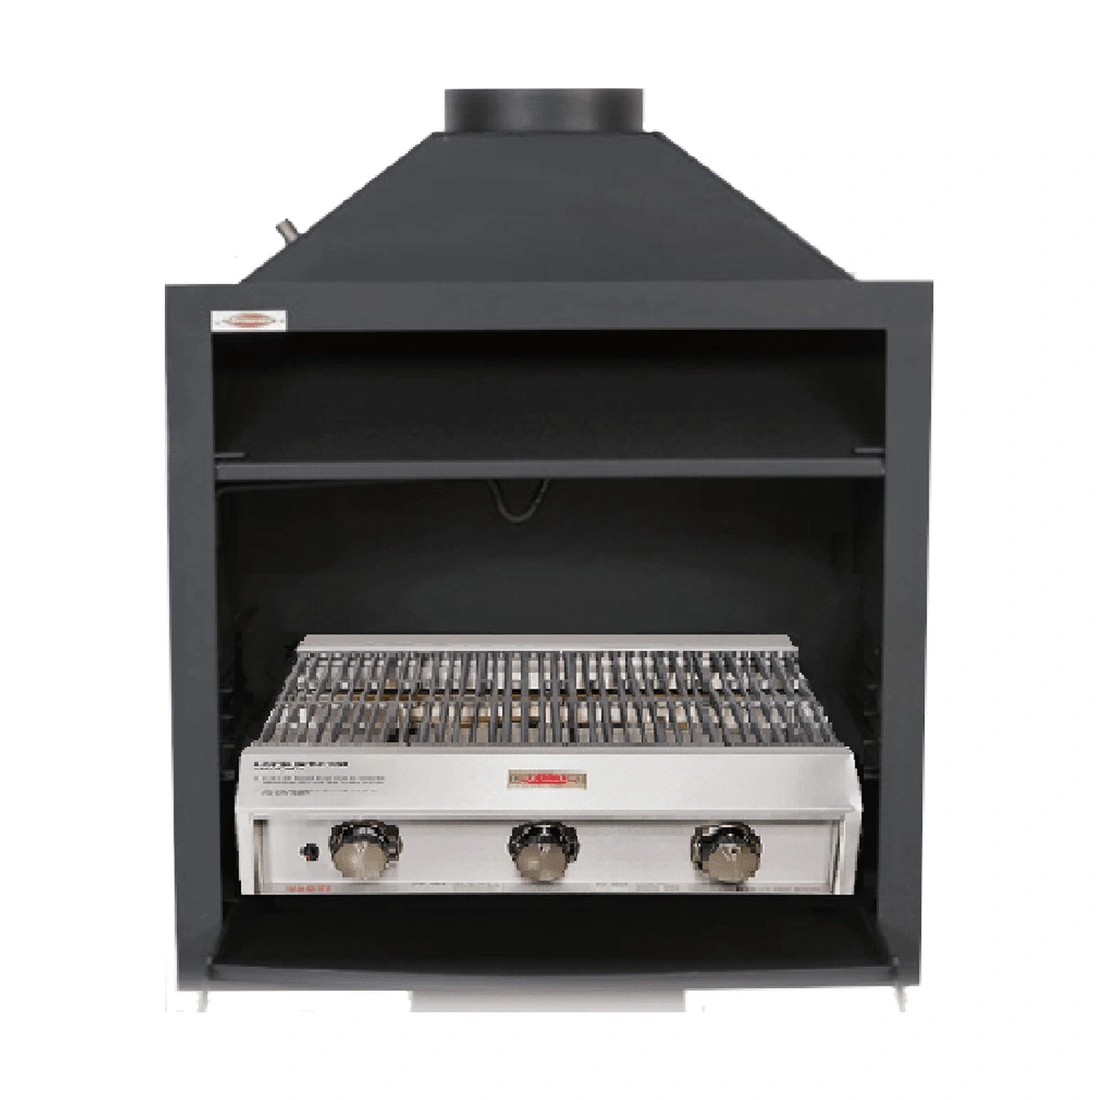
700 · Gas
A built-in firebox with a three-burner shallow gas grill.
View product & options ↗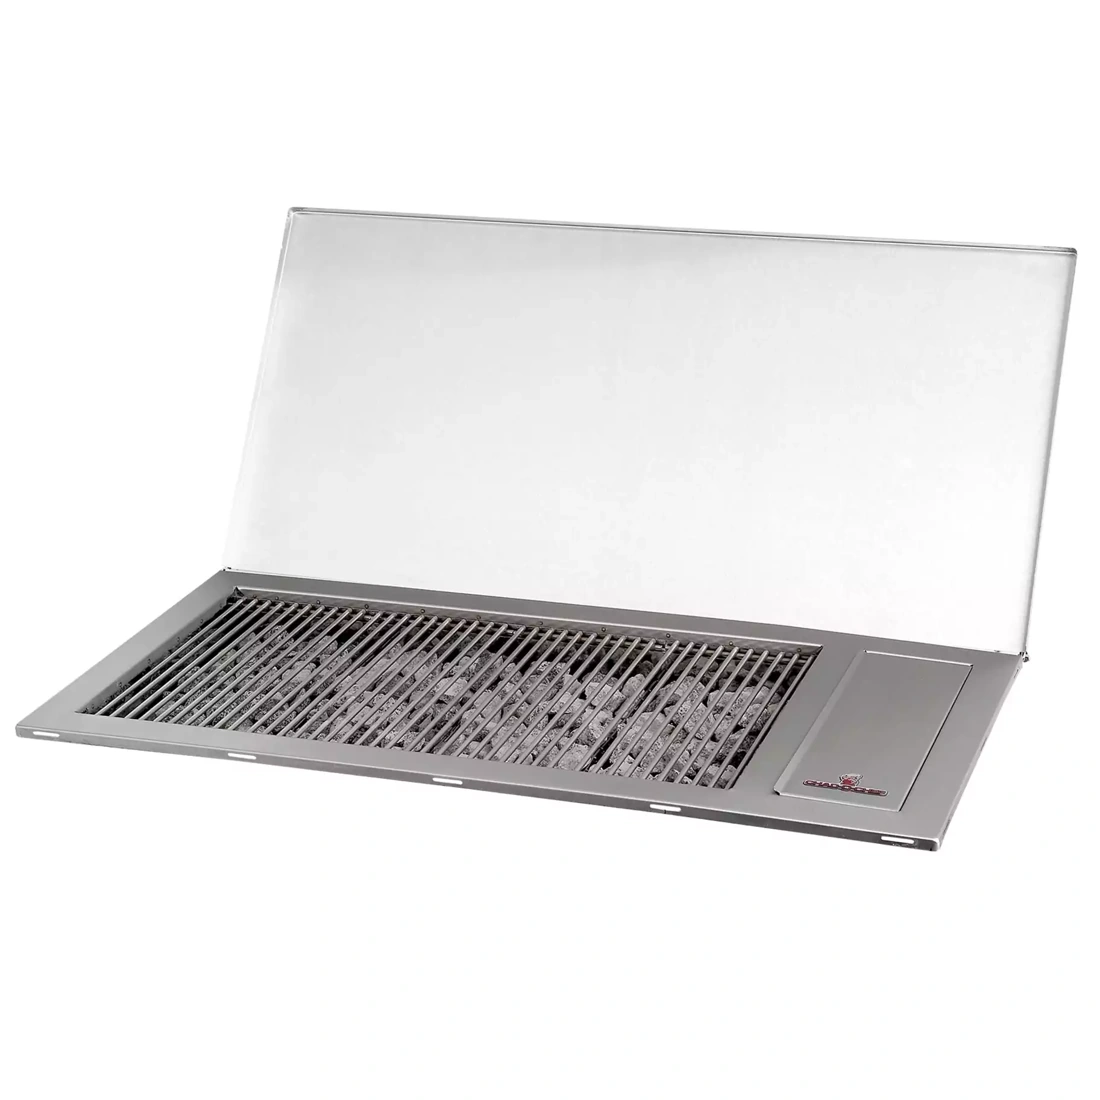
4 burners · Gas / counter
Drops into a counter. Check the cut-out and cabinet ventilation.
View product & options ↗Our 360° models help you understand shape and space. Use the manufacturer’s manual and confirmed dimensions for installation. Lifestyle images are design illustrations.
Check each product page for the current price, finish, package contents and delivery options.
Browse all built-in braais ↗Send us the details. We can help you check the product and matching options.
For gas, also confirm the gas supply and required ventilation with a qualified gas installer.
We supply and deliver products. Arrange installation with an independent installer.
Let’s plan your braai ↗Not always. The number is a nominal model size. Check the body, front frame and building-opening requirements separately.
Use the drawing and manufacturer’s manual for planning. Have your installer confirm the opening, clearances and actual unit before building.
It includes only the listed parts. Extra pipe, joints, bends, supports or roof sealing may be needed for your site.
Use only a location allowed by the exact model’s manual. An outdoor gas braai needs the specified open-air ventilation.
Do not assume so. Ask the manufacturer whether your exact model permits this use and what extra parts it requires.
Product examples use our catalogue records and exact-product media. Check the current manual supplied with your braai.
AI tools assisted with drafting and the flue illustration. Product photos, existing design drawings, 360° models and generated lifestyle images were reused. Editorial review of this updated guide is pending.
Added to your cart