Updated: 3 Sep 2025
Welcome to the definitive guide on how to smoke meat, the South African way. The secret is simple: low, slow heat and flavourful wood smoke transform everyday cuts into tender, juicy masterpieces. The best part? You can achieve this on the kettle braai or gas grill you already own, without needing any expensive, specialised gear.
Key Takeaways
- Low & Slow is King: Maintain a steady braai temperature between 110°C and 135°C. Patience is the key ingredient.
- Use Indirect Heat: Always cook your meat away from the direct heat source. We’ll show you how to set up a two-zone fire.
- Choose Local Wood: South African hardwoods like Rooikrans, Sekelbos, and Kameeldoring provide incredible, authentic flavour.
- Cook to Temperature, Not Time: An internal meat thermometer is non-negotiable. Aim for around 93-96°C for tough cuts like brisket or pork shoulder.
- Rest is a Must: Resting the meat for at least one hour after cooking is critical for a juicy, tender result. Don’t skip this step!
Your Journey Into Braai Smoking Starts Here
Smoking meat is one of the most rewarding ways to braai (our word for cooking over coals, similar to a barbecue). It’s a technique rooted in patience, turning tougher, more affordable cuts of meat into something truly special.
Forget about just grilling a quick tjop (a lamb or pork chop); we’re talking about a slow, flavour-infusing process that breaks down tough connective tissues, leaving you with melt-in-your-mouth results. This is next-level braaiing.
This guide is designed for the everyday South African braaier. I’m here to demystify the whole thing, sharing practical, actionable advice. My first attempt at a smoked brisket was a tough lesson in patience—literally. I rushed it, and the result was more leather than lekker (delicious). I’ll help you sidestep those common rookie mistakes.
What You Will Learn
Here, you’ll get the hang of the core principles of smoking, all tailored for our local context. We’re not just following international trends; we’re adapting them to our unique braai culture.
- The Science of Smoke: We’ll look at how smoke actually works its magic on meat, creating that incredible flavour and the beautiful mahogany crust we call the “bark.”
- Gear You Already Have: The focus is on setting up a standard kettle braai or a gas grill for smoking. No need to rush out and buy a dedicated smoker just yet.
- Local Wood Choices: You’ll learn which South African hardwoods, like Rooikrans or Kameeldoring, are best for different types of meat.
- Temperature Mastery: Control is everything. You’ll learn how to maintain that sweet spot—a steady, low temperature around 110°C—for hours on end.
The act of smoking is deeply embedded in many cultures, including our own rich culinary traditions in South Africa. This practice is widespread, influencing both community gatherings and home cooking. If you’re interested, you can learn more about the cultural context of smoking practices in South Africa and how they vary.
By the end of this guide, you’ll have the confidence to tackle anything from a simple smoked chicken for a weekend braai to a show-stopping festive gammon. Right, let’s get the fire going.
Choosing the Right Wood for Authentic Flavour
The soul of smoked meat isn’t just in the cut or the rub; it’s born from the wood you choose. Get this part right, and you’re creating something special. The right wood infuses the meat with character, turning a simple braai into an unforgettable meal.
Think of wood as the final, most crucial spice. A bold wood like Kameeldoring imparts a strong, earthy flavour that stands up beautifully to a hearty beef brisket. On the other hand, something milder like Rooikrans offers a subtle sweetness, perfect for delicate chicken or fish.
Getting this choice right is the difference between a smoky masterpiece and a bitter disappointment. You’re aiming for a thin, clean, almost blueish smoke—that’s where the magic happens.
Wood Formats: Chips, Chunks, and Sawdust
When you’re ready to smoke, you’ll find wood in a few different forms. Each has its place, and knowing the difference helps you control the smoke.
- Wood Chunks: These are my go-to for any long smoke. Chunks are fist-sized pieces of wood that smoulder for hours, giving you a steady, consistent release of clean smoke. You’ll typically only need three or four to get you through a multi-hour cook.
- Wood Chips: Smaller than chunks, chips ignite and produce smoke much more quickly. They’re ideal for shorter cooks or if you’re using a smoker box on a gas braai. If you’re smoking something for under an hour, chips are a great choice.
- Sawdust: This is for specialised applications, like cold smoking cheese or fish where you want flavour without much heat. It smoulders at a very low temperature and isn’t what you’d use for hot smoking meat on the braai.
Braai Master’s Tip: Soaking wood chips is a widely debated topic. I find it’s often unnecessary for a true low-and-slow smoke. Dry wood chunks placed on hot coals will smoulder perfectly, producing a cleaner, more flavourful smoke.
The Best Local Woods for Smoking
South Africa is blessed with some of the best hardwoods in the world for smoking. Forget importing hickory or mesquite; our local options are world-class. If you’re looking for a deep dive, we have a complete guide to the best braai wood that covers everything from burn time to flavour profiles.
Here are a few of my favourite local woods to get you started:
- Rooikrans: A fantastic all-rounder. It’s mild, slightly sweet, and incredibly versatile, working beautifully with poultry, pork, and even lamb.
- Sekelbos: Known for its intense heat on a traditional braai, it also provides a strong, savoury smoke flavour. It’s brilliant for beef and game meats.
- Kameeldoring: This is a dense, heavy wood that produces a robust, earthy smoke. Save this for big, bold cuts of beef like brisket or short rib.
- Fruit Woods (Apple, Cherry): If you can get your hands on them, these provide a light, sweet, and fruity smoke that is just brilliant with pork, gammon, and chicken.
To make things easier, I’ve put together a quick guide to help you pair some of our classic South African woods with the right meat.
South African Smoking Wood and Meat Pairing Guide
| Wood Type | Smoke Flavour Profile | Best Paired With | Braai Master’s Tip |
|---|---|---|---|
| Rooikrans | Mild & Sweet | Poultry, Pork, Fish, Lamb | Excellent for beginners. Its subtle flavour won’t overpower delicate meats. |
| Sekelbos | Strong & Savoury | Beef, Game (Kudu, Blesbok), Lamb | A little goes a long way. Use sparingly until you know its flavour intensity. |
| Kameeldoring | Robust & Earthy | Beef Brisket, Short Ribs, Potjiekos | The king of woods for beef. Its dense structure provides a long, slow burn. |
| Apple Wood | Light & Fruity | Pork, Chicken, Gammon | Perfect for adding a touch of sweetness. Try it on pork ribs. |
| Cherry Wood | Mild & Fruity | Duck, Chicken, Pork | Gives a beautiful reddish tint to the meat and offers a unique sweetness. |
Choosing the right wood is an art, but with a bit of practice, you’ll soon develop a feel for which flavour profiles work best for your palate.
Woods to Avoid at All Costs
Just as important as knowing what wood to use is knowing what to avoid. Using the wrong type can completely ruin your meat, leaving it with an acrid, chemical taste.
Never, ever use softwoods like pine or cypress. These woods are loaded with resin, which creates a thick, black, sooty smoke that will make your food completely inedible.
Also, stay far away from any treated, painted, or varnished wood. Pallet wood, old furniture, or construction off-cuts release toxic chemicals when burned. Stick to natural, properly seasoned hardwoods for a clean, delicious result every time.
Prepping Your Meat for Maximum Flavour
Incredible smoked meat begins hours, sometimes even a whole day, before it sees the fire. Getting the prep right isn’t just a suggestion; it’s the foundation for that tender, flavour-packed result we’re all chasing. This is where you set your meat up for success.
We’ll walk through the three pillars of great meat prep: trimming the fat, seasoning with rubs, and the magic of brining. Each step is crucial for the final taste and texture.
Trimming for an Even Cook
Trimming is a practical step to make sure everything cooks evenly. Big cuts like brisket or a pork shoulder often have thick layers of hard fat (a fat cap) that need attention.
Your goal is to create a more uniform shape. This helps the heat and smoke flow evenly around the meat. I learned this the hard way years ago with a massive rump roast. I didn’t trim it properly, and the thinner edges turned into biltong while the centre was still undercooked.
Key Trimming Actions:
- Trim the Fat Cap: Leave about 5–6 mm of fat on the surface. That’s enough to baste the meat as it renders, but not so thick that it blocks the smoke and rub.
- Remove Hard Fat: Cut away any thick, hard kernels of fat. They won’t render properly and leave you with chewy bits.
- Tidy Up Loose Ends: Snip off any thin, dangly pieces of meat or fat. These will just burn and turn bitter.
The Power of the Rub
A good rub adds a massive layer of flavour and helps create that delicious, dark crust we call the “bark.” Salt is the most important ingredient. It draws moisture from the surface, dissolves into it, and is then reabsorbed, seasoning the meat from the inside out.
While a simple mix of coarse salt and black pepper is a classic for a reason (especially on beef), don’t be scared to experiment. For a deeper dive into what works best, check out our essential guide to herbs and spices for the braai.
Brining for Ultimate Juiciness
Brining is your secret weapon against dry meat, especially for leaner cuts like chicken or fish like snoek. It’s a saltwater bath that helps the meat hold onto its moisture during the long cooking process.
You’ve got two main methods to choose from:
- Wet Brining: This is the classic method of fully submerging the meat in a saltwater solution (e.g., 60g of salt per 1 litre of water). It’s fantastic for ensuring poultry stays incredibly moist.
- Dry Brining: My go-to for larger cuts. Simply coat the meat liberally with salt (about 1 teaspoon per 500g of meat) and let it rest, uncovered, in the fridge for 12–24 hours. The salt draws out moisture, creates a concentrated brine on the surface, and then gets reabsorbed, seasoning the meat deeply.
Mastering Indirect Heat and Temperature Control
This is where the real magic happens. Smoking is a patient game, a ‘low and slow’ art form. Your mission is to keep your braai at a steady temperature, somewhere in the sweet spot between 110°C and 135°C, for hours on end. This gentle, consistent heat turns tough cuts into fall-apart tender masterpieces.
The secret is indirect heat. This means your meat isn’t sitting directly over the coals or gas burner. Instead, you create a cooler zone, letting the meat cook gently in the warm, smoky air. It’s like turning your braai into an oven.
Direct heat would just give you a burnt exterior long before the inside is cooked. Indirect heat lets the low temperature and fragrant smoke work slowly, rendering fat and breaking down tough connective tissue.
Defining the Two-Zone Fire
A “two-zone fire” is a fundamental braai technique where you set up your heat source on one side of the braai, leaving the other side empty. This creates a hot “direct zone” for searing and a cooler “indirect zone” for smoking, roasting, or gentle cooking. It gives you total control over your cook.
Creating a Two-Zone Fire in a Kettle Braai
For anyone with a classic kettle braai (like a Weber), setting up two zones is simple but critical. You’re splitting the braai into a hot zone for the coals and a cool zone for the meat.
My go-to method for long, stable cooks is the charcoal snake method. It’s a game-changer.
- Build the Snake: Arrange a double row of unlit charcoal briquettes around the inside edge of your braai, forming a long C-shape.
- Add Wood Chunks: Lay your wood chunks right on top of the first half of the snake. This gets smoke rolling early, which is when the meat absorbs the most flavour.
- Light the Fuse: Get about 8-10 briquettes glowing hot using a chimney starter. Carefully place these hot coals at one end of the snake. They act as a slow-burning fuse, gradually lighting the rest of the snake over many hours.
Using this technique, you can get stable, low temperatures for 6-8 hours without lifting the lid. If you’re new to managing a fire, our guide on the right way to start a braai fire has great tips.
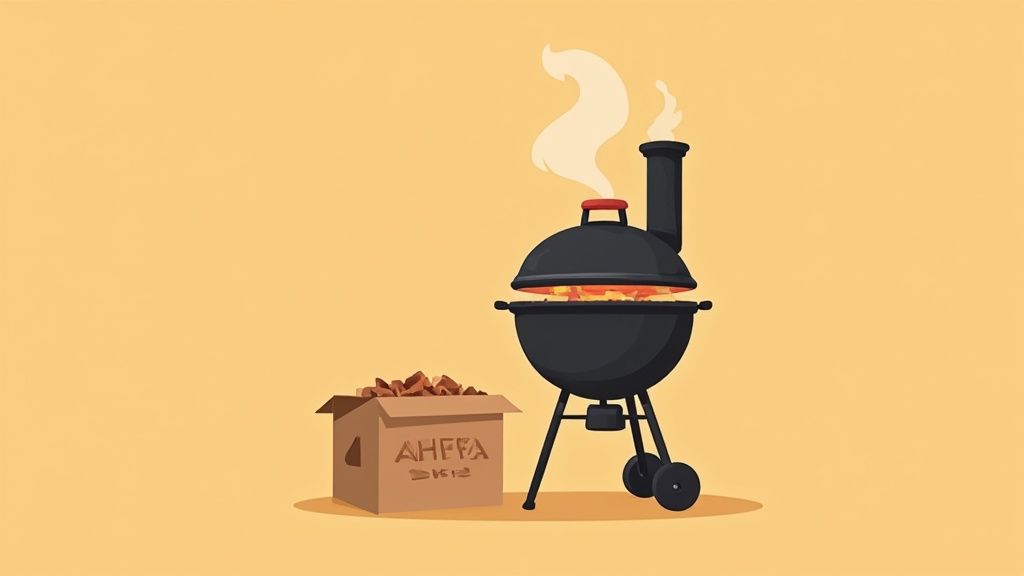
This infographic breaks down the basic workflow for a successful smoke.

As you can see, it boils down to controlling the environment inside your braai to hit that perfect internal meat temperature.
Temperature Control for Gas Braais
Got a gas braai? The principle is the same. The good news is that temperature control is even easier—just turn a few knobs.
- Two-Burner Braai: Light only one burner on low. Place your meat on the opposite, unlit side.
- Three or Four-Burner Braai: Fire up the outer burners on a low setting and keep the middle burner(s) off. This creates a perfect cooking zone in the centre.
To get that essential smoke, place a smoker box filled with wood chips directly over one of the lit burners. Keep the lid shut as much as possible to trap the smoky goodness.
The Role of Vents and Thermometers
Think of your braai’s vents as your temperature dials. They control how much oxygen gets to the fire. More air means a hotter fire; less air cools things down.
Braai Master’s Tip: I always start with the bottom vents mostly open to get the fire established, then use the top vent to make small adjustments. A tiny tweak to the top vent can have a big impact on your temperature.
And while the thermometer on your braai’s lid gives you a rough idea, it’s not reliable. A good digital thermometer is non-negotiable. You’ll want one with at least two probes: one for the ambient temperature at grate level, and another for the meat itself. It’s the only way to know for sure when your masterpiece is perfectly cooked.
Navigating the Smoke from Stall to Rest
Alright, the meat is prepped and your fire is rolling. This is the patient, rewarding part of the process, where time and temperature transform a tough cut into something incredible.
Those first few hours are critical. This is when the meat is a sponge for smoke. My best advice? Resist the temptation to keep peeking under the lid. Every time you lift it, you let out heat and smoke, which can throw off your timing.
As the hours tick by, keep an eye on your braai’s temperature, but the real story is told by the meat’s internal temperature. Smoking is about hitting specific temperature milestones inside the meat itself.
Conquering the Dreaded Stall
If you’re tackling a big cut like a brisket, you’re almost guaranteed to run into “the stall.” This is that maddening point, usually around 65°C to 75°C, where the meat’s internal temperature stops rising. It can sit there for hours.
What’s happening? The stall is simply evaporative cooling. As the meat heats up, it sweats out moisture. This evaporation cools the meat’s surface, cancelling out the heat from your fire. It’s why sweating cools you down.
My first brisket stall nearly broke me. I was convinced my thermometer was shot. You have to trust the process—it’s just science. The best thing you can do is either wait it out or give it a nudge.
A popular way to push through the stall is the “Texas Crutch.” This just means wrapping the meat tightly in foil or, my preference, unwaxed butcher paper. This traps the moisture, stops the evaporative cooling, and helps the temperature start climbing again.
To Spritz or Not to Spritz
Spritzing is lightly spraying the surface of your meat with liquid to keep it moist and help build that beautiful, dark ‘bark’. A quick spritz every hour or so (after the first couple of hours) prevents the surface from drying out.
What should you use? Keep it simple.
- For pork: A mix of equal parts apple juice and apple cider vinegar.
- For beef: Plain water, a bit of beef stock, or the meat’s own drippings.
- For chicken: A light spray of water or apple juice helps keep the skin from getting tough.
Just don’t go overboard. A light mist is all you need to keep the surface tacky, not wet.
The Final, Critical Step: Resting Your Meat
You’ve spent hours managing the fire. The urge to pull it off the braai and slice straight in is overwhelming. Don’t do it. Resting your meat is the single most important step for a juicy, tender result.
When meat cooks, its muscle fibres tighten, pushing moisture towards the centre. If you slice into it right away, those juices will just pour out, leaving you with dry meat. I once carved a beautiful brisket after only a 15-minute rest. The river of juice that flooded my board was a sad sight.
Letting the meat rest gives those muscle fibres time to relax and reabsorb all that moisture. For a big cut like a pork shoulder or brisket, a rest of at least one hour is non-negotiable. I often rest mine for two hours, wrapped in butcher paper and tucked into a cooler box to keep it warm.
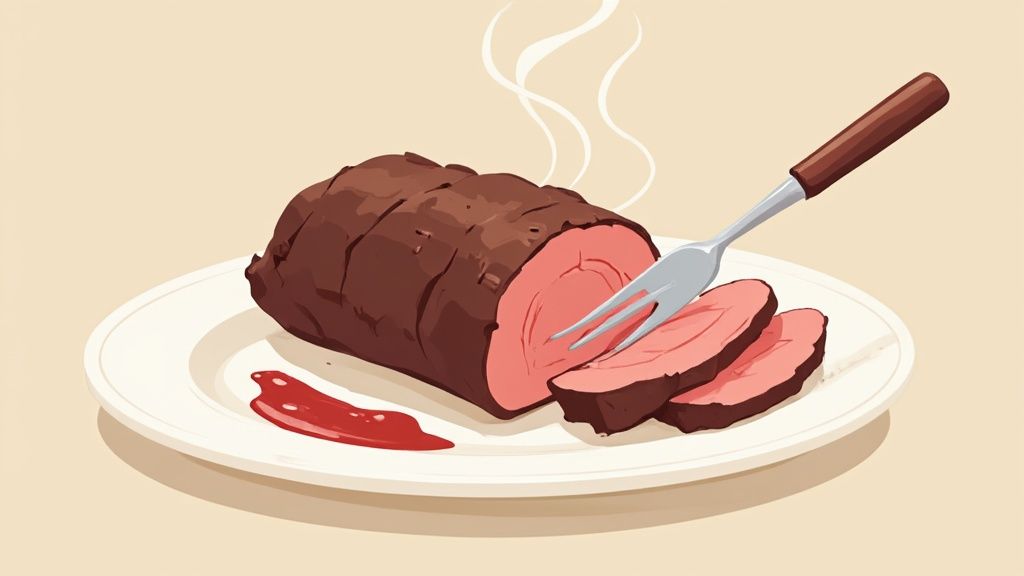
Target Internal Temperatures for Smoked Meats (°C)
Think of this table as your roadmap, but always cook to tenderness, not just a number. For tough cuts like brisket, the temperature is a guide; the real test is when a thermometer probe slides into the meat with almost no resistance, like it’s going into soft butter.
| Meat Cut (e.g., Beef Brisket, Pork Shoulder) | Target Internal Temperature (°C) | Notes and Resting Time |
|---|---|---|
| Beef Brisket | 93–96°C | Cook until probe-tender. Rest for a minimum of 1-2 hours. |
| Pork Shoulder | 93–96°C | Perfect for pulled pork. Rest for at least 1 hour before shredding. |
| Pork Ribs | 88–93°C | Meat should pull back from the bone. Rest for 20-30 minutes. |
| Whole Chicken | 74°C (in the thickest part of the thigh) | Ensure juices run clear. Rest for 15-20 minutes before carving. |
| Lamb Leg/Shoulder | 85–90°C (for pulling) | Cook to a higher temp for shreddable lamb. Rest for 30 minutes. |
Ultimately, getting a feel for your braai and your cut of meat is what separates good from great. Happy smoking.
Common Braai Smoking Questions Answered
Even with the best game plan, questions always pop up. Think of this as your quick-reference guide for those moments you need a straight answer, fast.
How much wood do I actually need?
For a 6-8 hour smoke, you don’t need a mountain of wood. Start with 3-4 fist-sized wood chunks on your hot coals. After that, add one new chunk every hour for the first 3-4 hours. The aim is a steady, thin stream of blueish smoke. Too much white smoke means you’ve used too much wood, which makes the meat bitter.
Can I really smoke on my gas braai?
Yes, absolutely! A gas braai offers fantastic temperature control. The trick is to use a smoker box. Fill the box with wood chips (no need to soak them) and place it over one lit burner. Keep the other burners off and put your meat on that unlit side of the grill. This perfectly mimics the indirect heat method.
Why did my meat turn out tough?
This nearly always comes down to two things: cooking too hot and fast, or not resting the meat long enough. You must keep that braai temperature steady and under 140°C. For tough cuts, you need to cook them low and slow until the internal fat and connective tissues render, which happens around an internal temp of 93-96°C. Then, you must let it rest for at least an hour to reabsorb its juices.
Ready to perfect your technique? The team at Braai Culture has everything from premium braais and smokers to the best local wood chunks and accessories to help you master the art of smoking. Explore our full range at https://braaiculture.com and take your braai game to the next level.